Situatie
Solutie
1. Check Your Connection
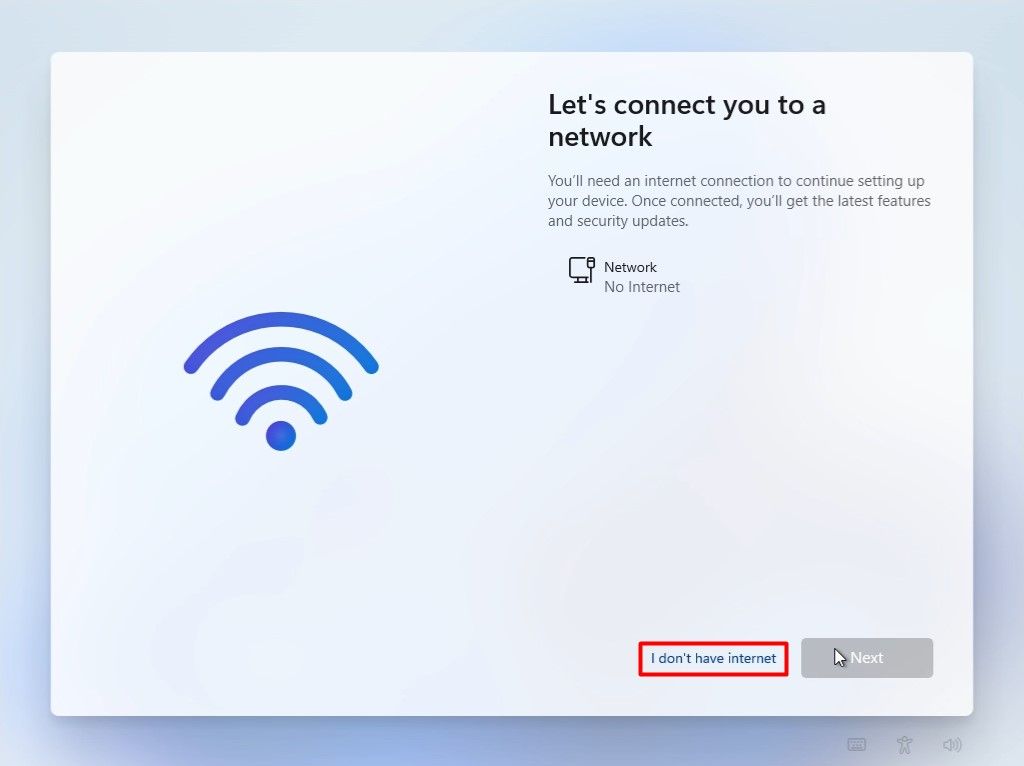
On the “Let’s connect you to a network” screen, you’ll see the names of available connections. However, if you can’t connect to any of them, whether it’s Wi-Fi or your wired connection, there’s probably a problem with the connection itself.

To confirm that the problem lies with your Wi-Fi, not your Windows computer, try connecting your smartphone or another device to the Wi-Fi and check if you can access the internet on it. If the internet doesn’t work on that device either, then it confirms that the issue resides with your Wi-Fi. The solution, in this case, is to restart the router. You can even contact your ISP for further assistance.
If you’re using a wired connection, make sure the cable isn’t damaged and is securely plugged in at both ends. Try disconnecting and reconnecting the cable to see if that helps.
If all else everthings fails, you can connect your Windows PC to the internet using your mobile hotspot. However, if your mobile hotspot also doesn’t display on your Windows network setup screen, then this suggests a deeper problem with your computer’s network settings, drivers, or other internal components. You can out some fixes for common Wi-Fi issues to diagnose and resolve the problem.
Since you’re currently offline, you’ll have to install Windows 11 without an internet connection. After the Windows installation is complete, you’ll simply need to restart your computer, and upon restart, Windows will be able to connect with the network drivers again. To install Windows 11 without an internet connection and bypass the “Let’s connect you to a network” screen, follow the next methods in this guide.
2. Use the Command Prompt to Bypass the Internet Requirement
When you encounter the “Let’s connect you to a network” screen, you can execute the “OOBE\BYPASSNRO” command in Command Prompt to bypass the connectivity requirement during the Windows 11 installation process. To achieve this, press Shift+F10 to launch Command Prompt while on the “Let’s connect you to a network” screen.
In the Command Prompt window, type OOBE\BYPASSNRO and press Enter.

Your computer will then restart, prompting you to select your region and keyboard layout once more. Afterward, you will arrive at the network setup screen. However, this time, you will have the “I don’t have internet” option available, which you can click to proceed with the Windows 11 installation process without an internet connection.
One important thing to note here is that you’ll end up creating a local user account instead of a Microsoft account when you try to install Windows 11 without an internet connection. However, you can always switch to a Microsoft account later.
3. End the Network Connection Flow Process
The network connection flow is an essential Windows process that detects and configures network connections on your computer. This process runs during Windows 11 installation and ensures your computer has an internet connection for downloading critical updates.
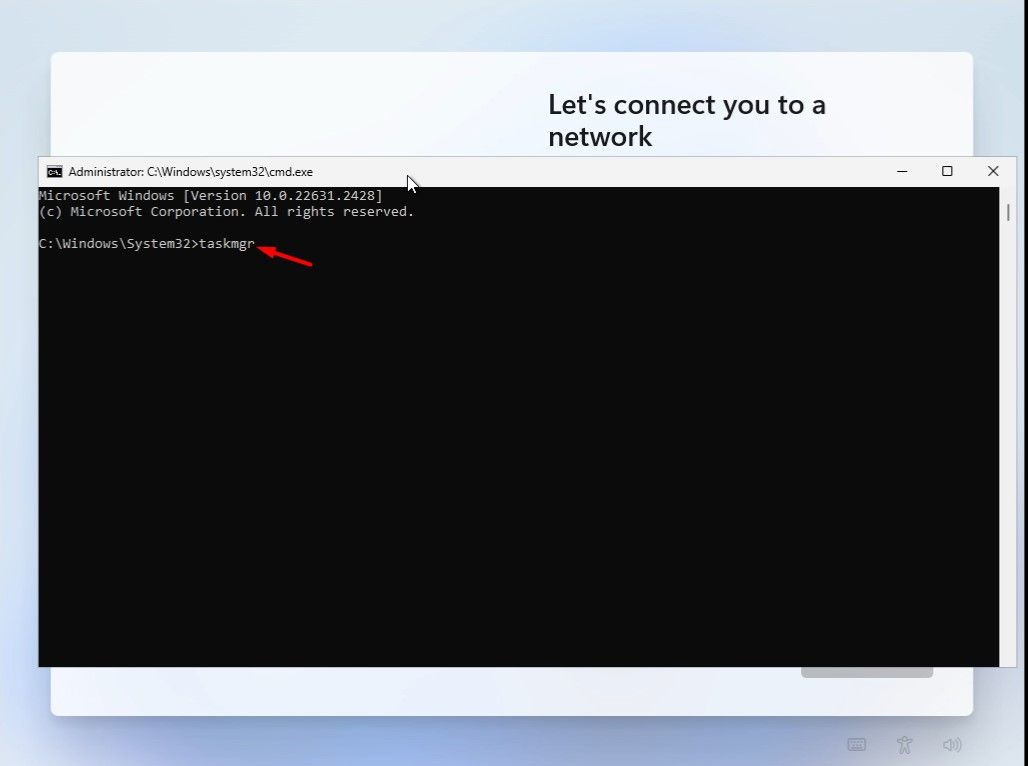
However, if you prefer not to install updates during Windows installation and want to complete the installation without the internet, you can disable the network connection flow process using Task Manager. To do this, press Shift+F10 to launch Command Prompt while on the “Let’s connect you to a network” screen.
In the Command Prompt window, type taskmgr and press Enter. This will the open the Task Manager window.
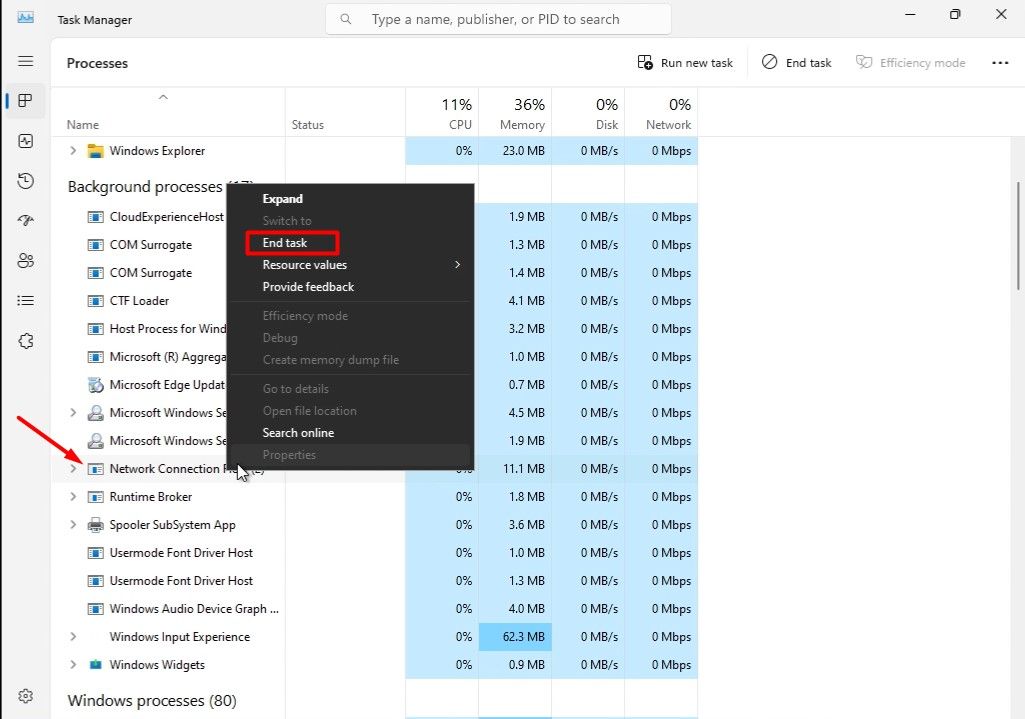
In Task Manager, right-click the “Network Connection Flow” process in the Processes tab and select “End task” from the context menu.
Type exit in the Command Prompt window and press Enter.
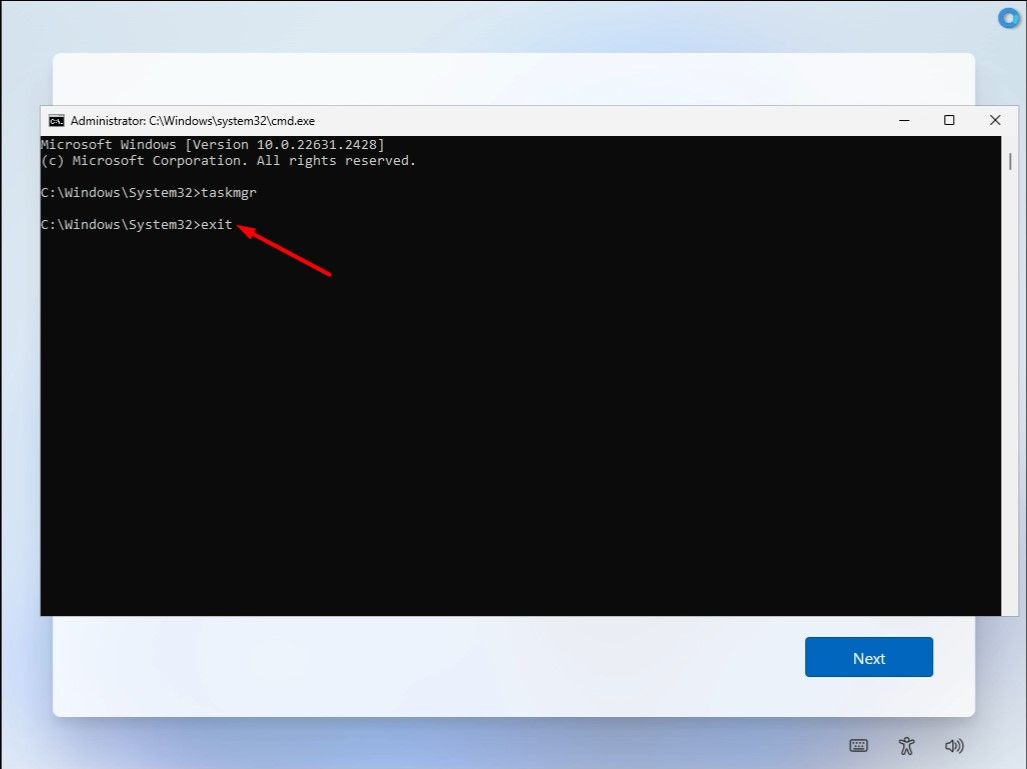
After that, the “Let’s connect you to a network” screen will disappear, and you can continue the installation without an internet connection.
Leave A Comment?