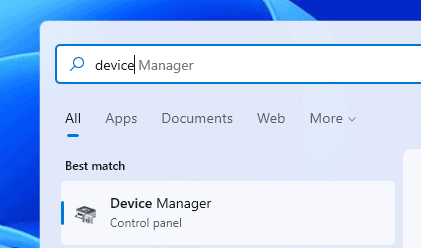
How to update drivers in Windows 11
- Device manager
2. Select device
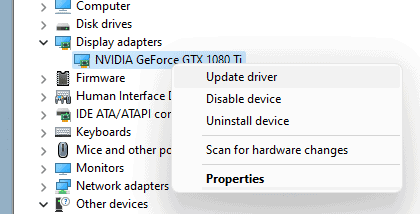
3. Update driver

Click update driver and then “search automatically for drivers”.
[mai mult...]Soluții pentru problemele tale IT

2. Select device
3. Update driver
Click update driver and then “search automatically for drivers”.
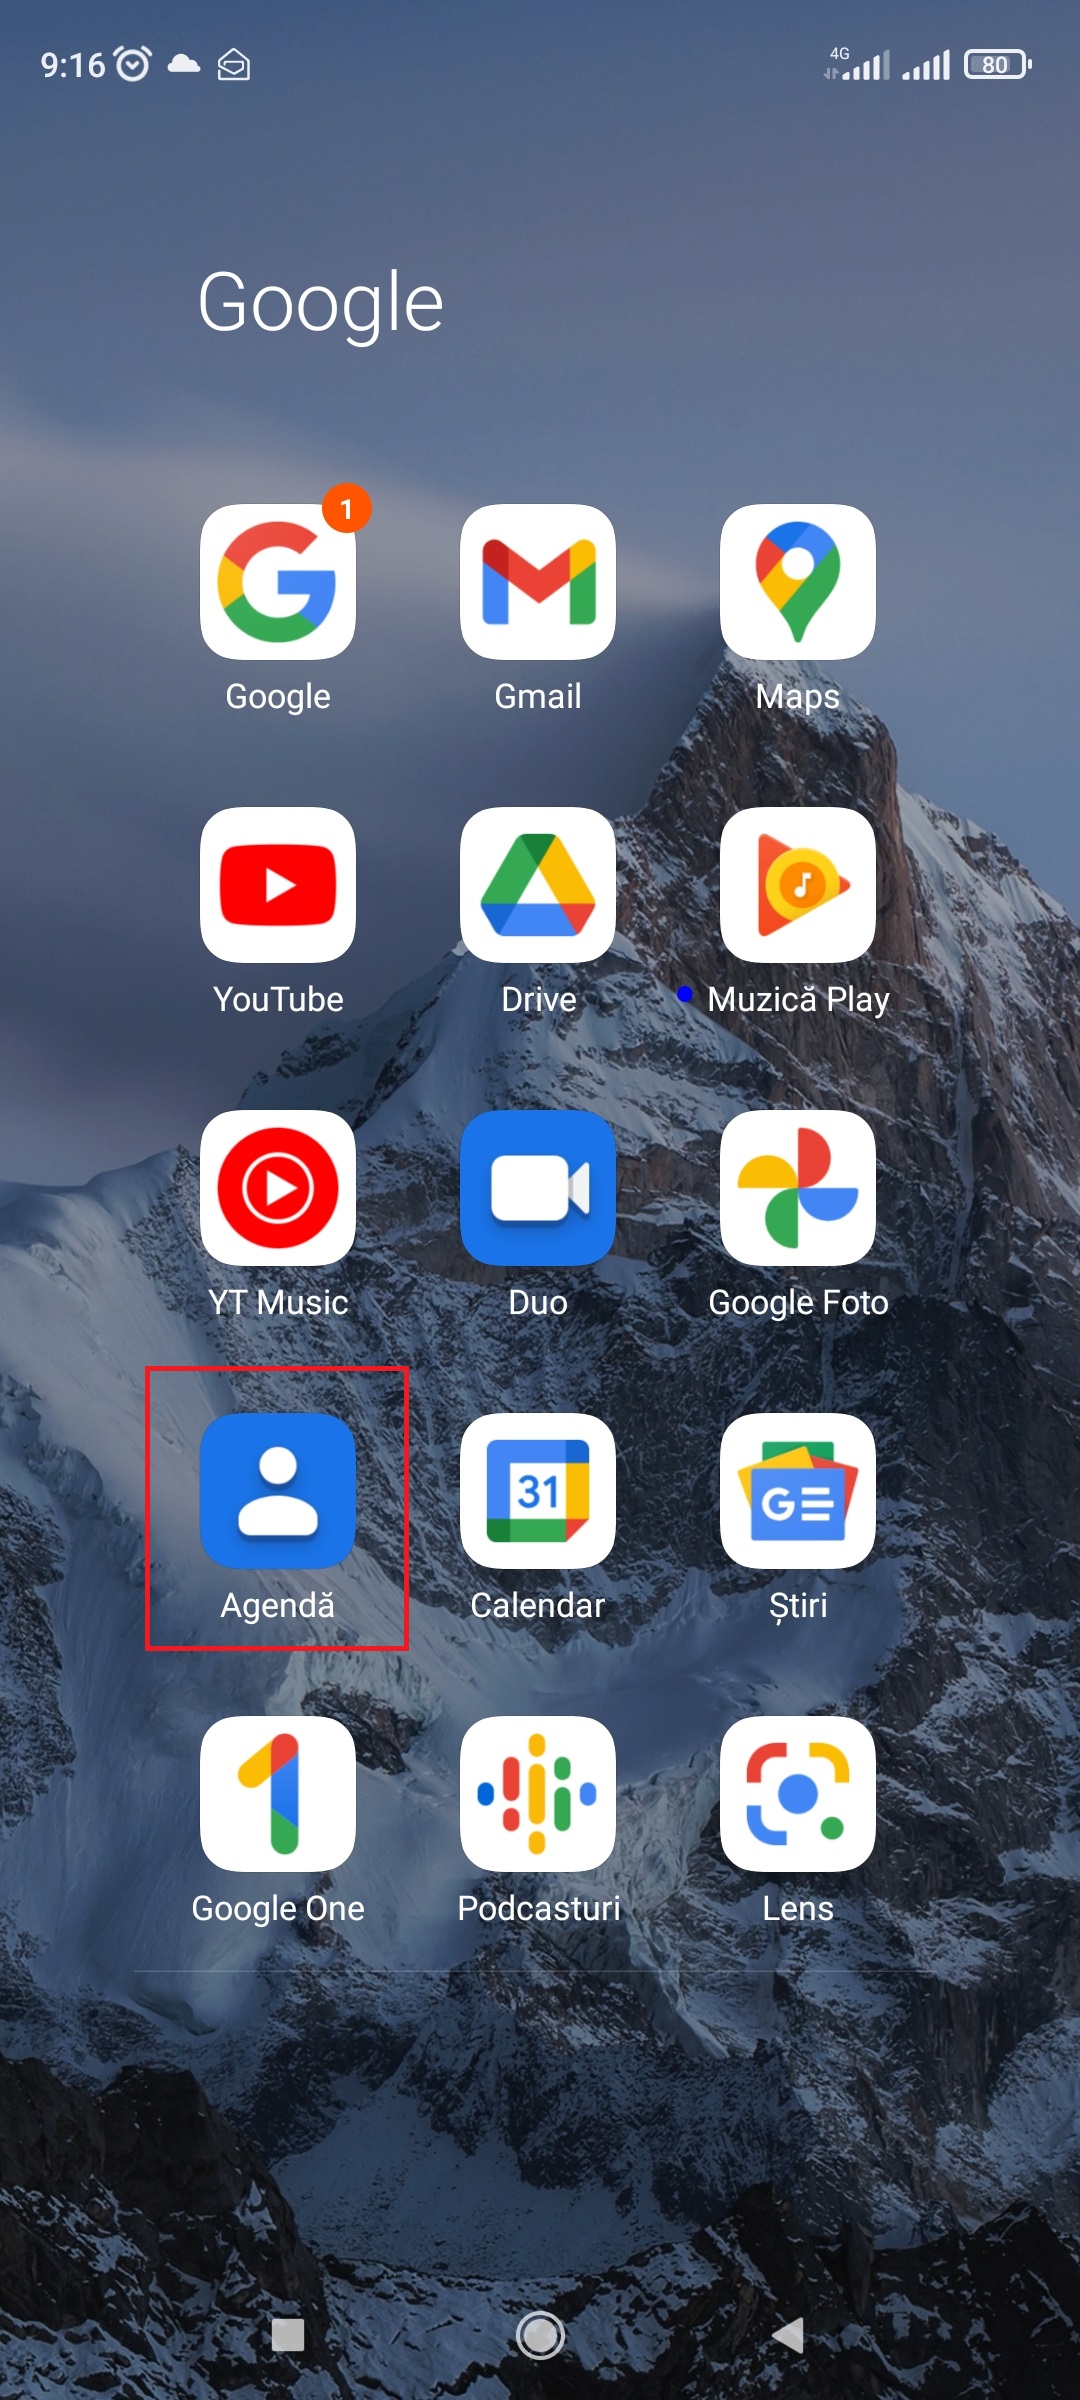
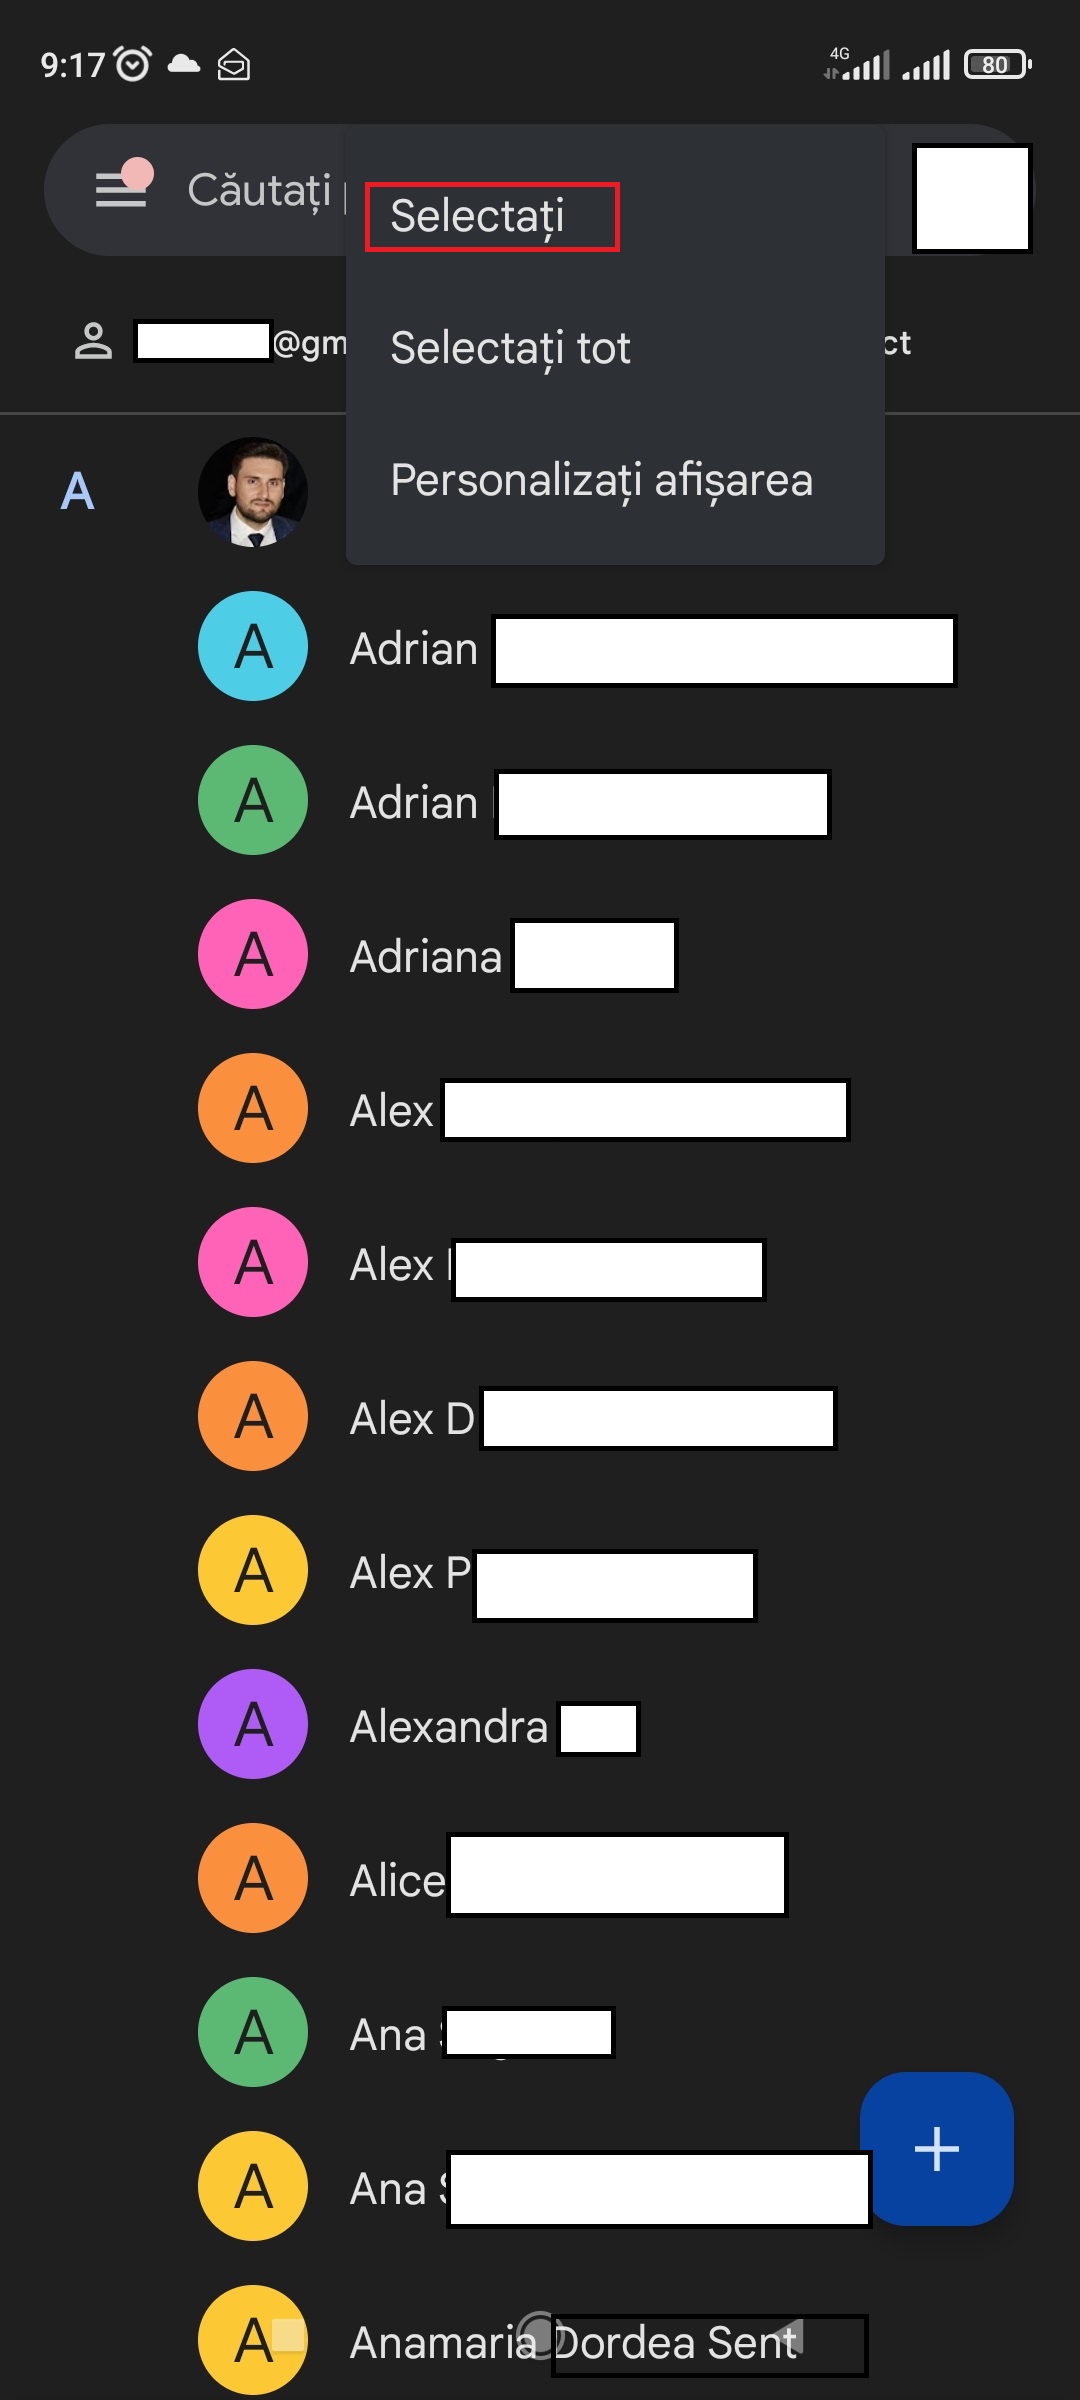
[mai mult...]Ștergerea unui contact pe Android este destul de ușoară. Selectați contactul și apăsați butonul Delete (Ștergere). Dar cum procedati dacă doriți să ștergeți deodata mai multe sau toate contactele?
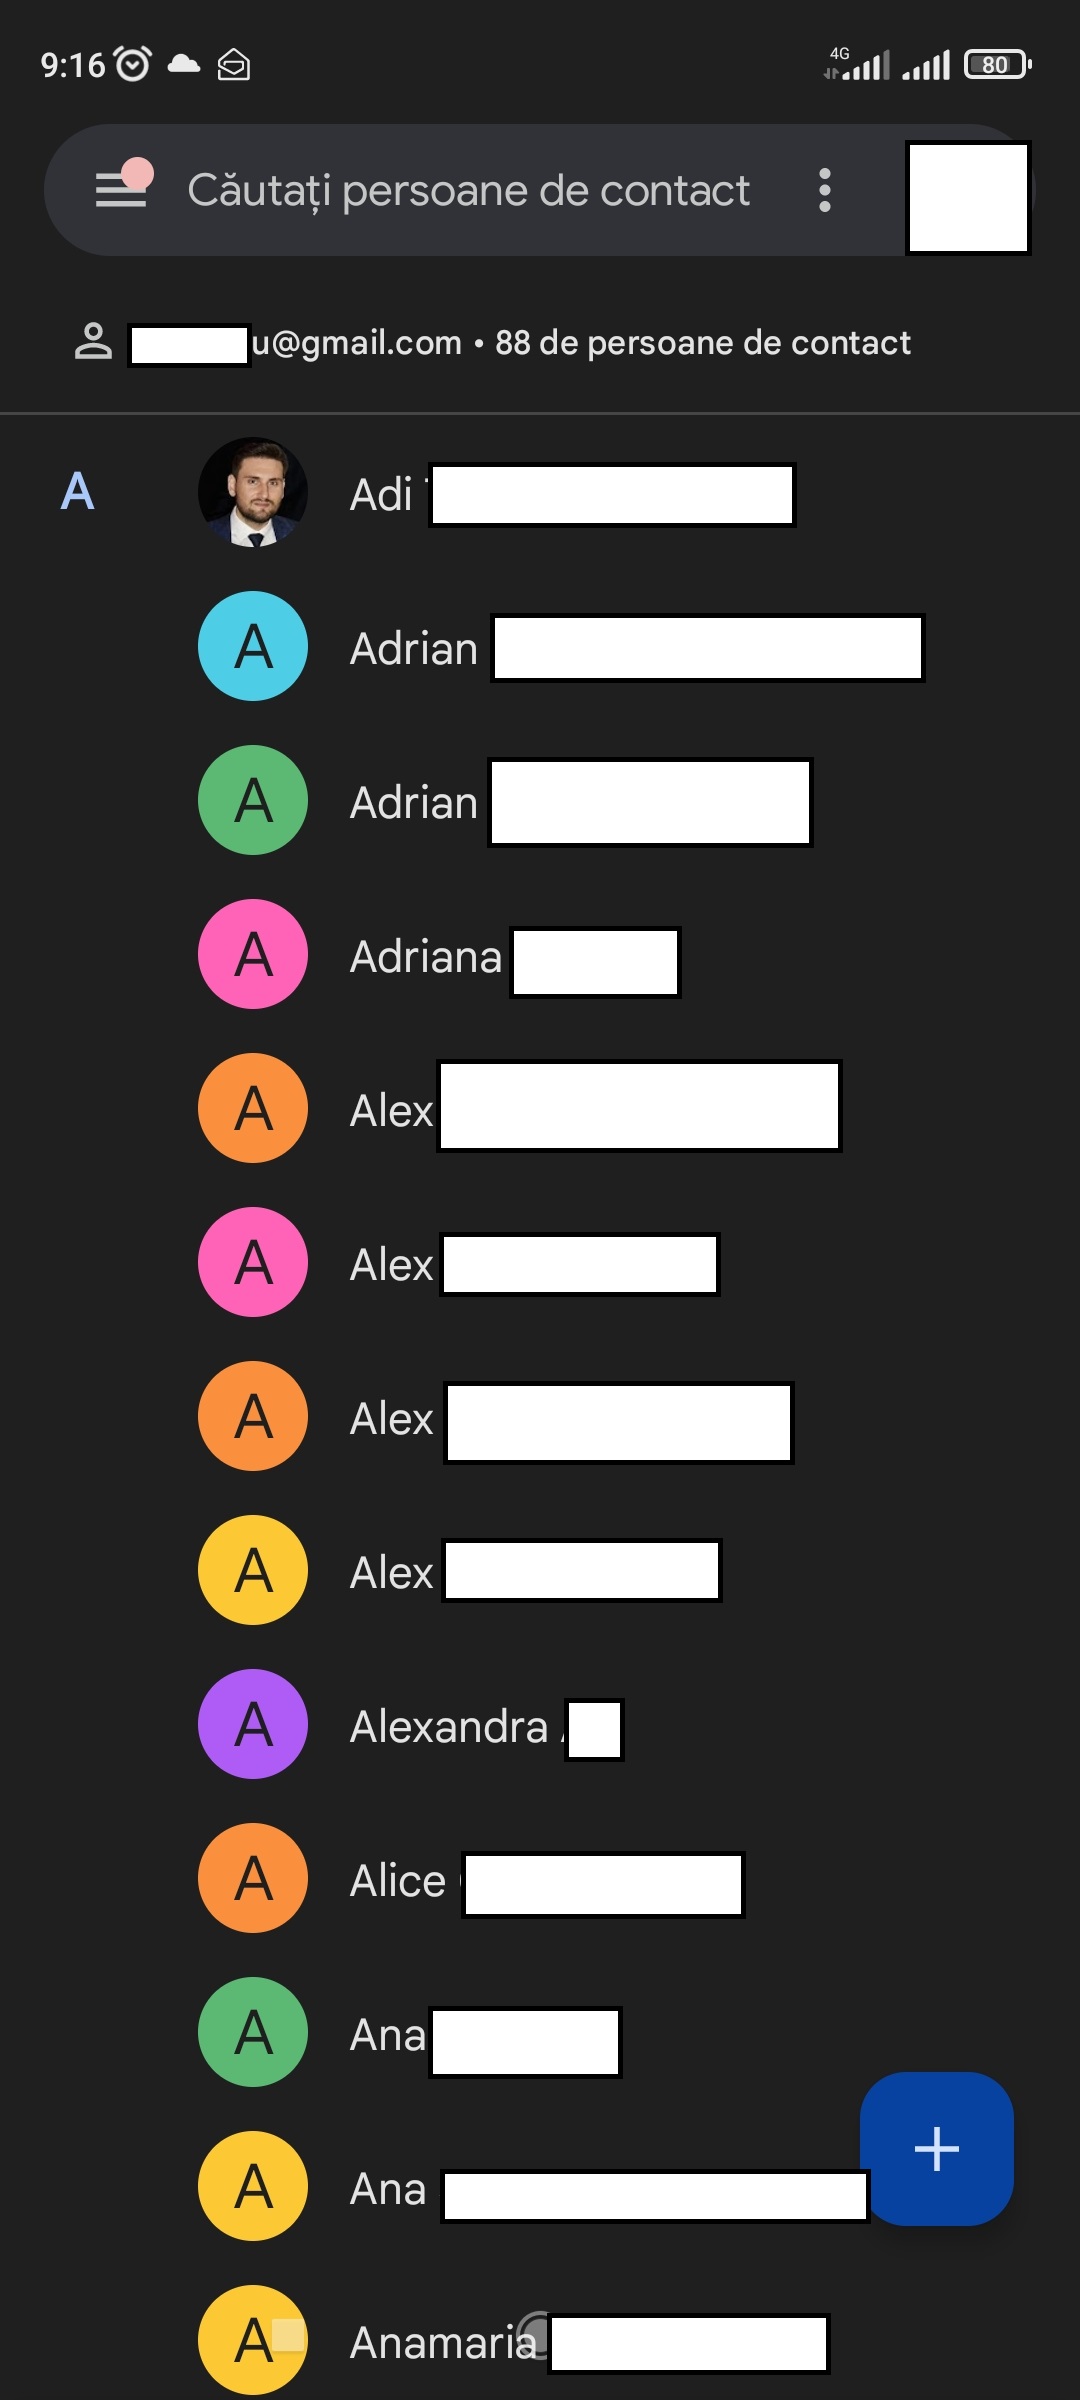
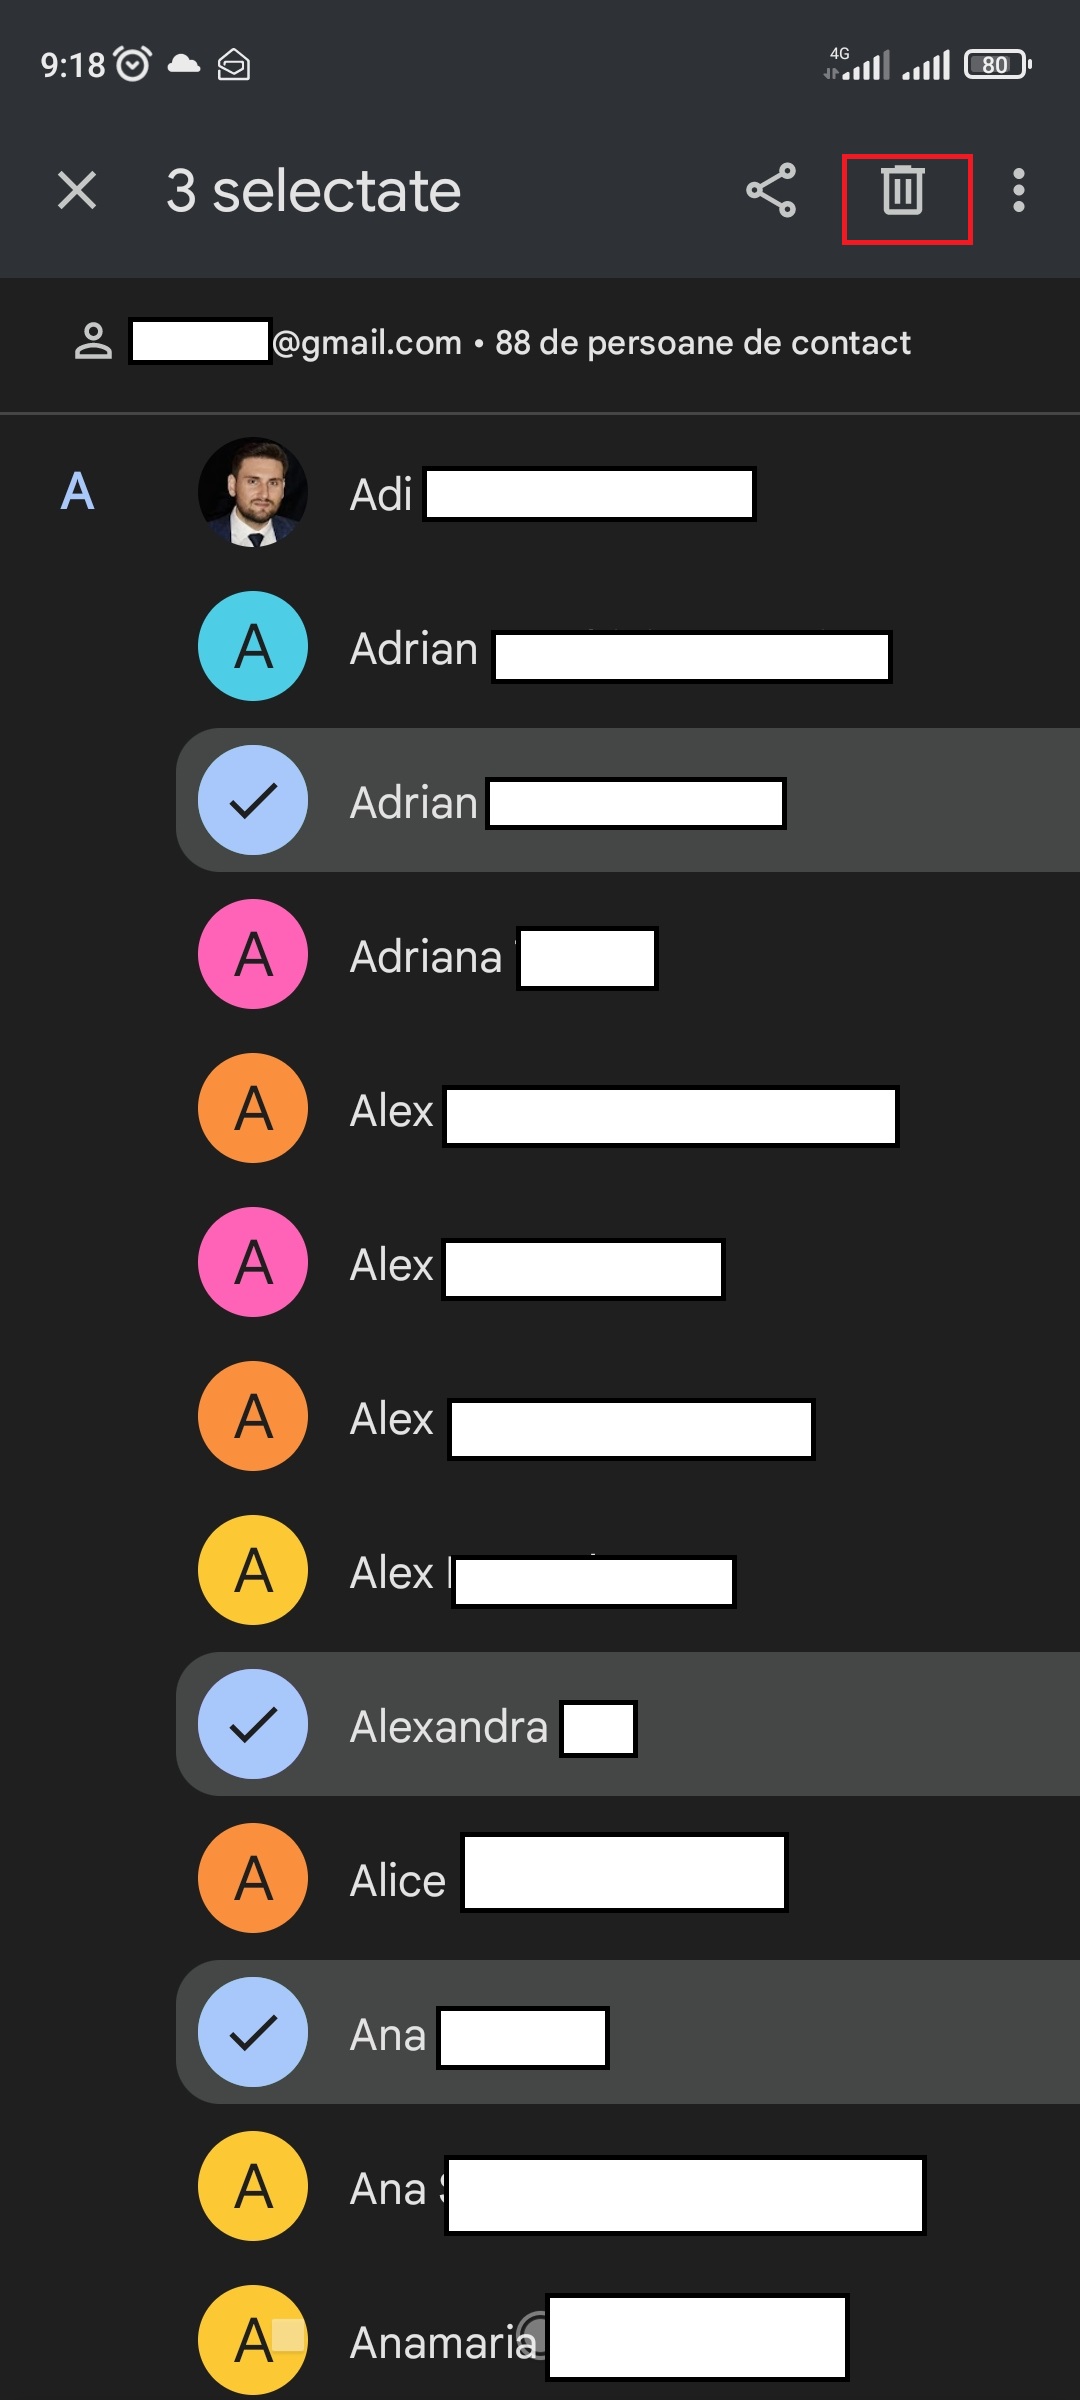
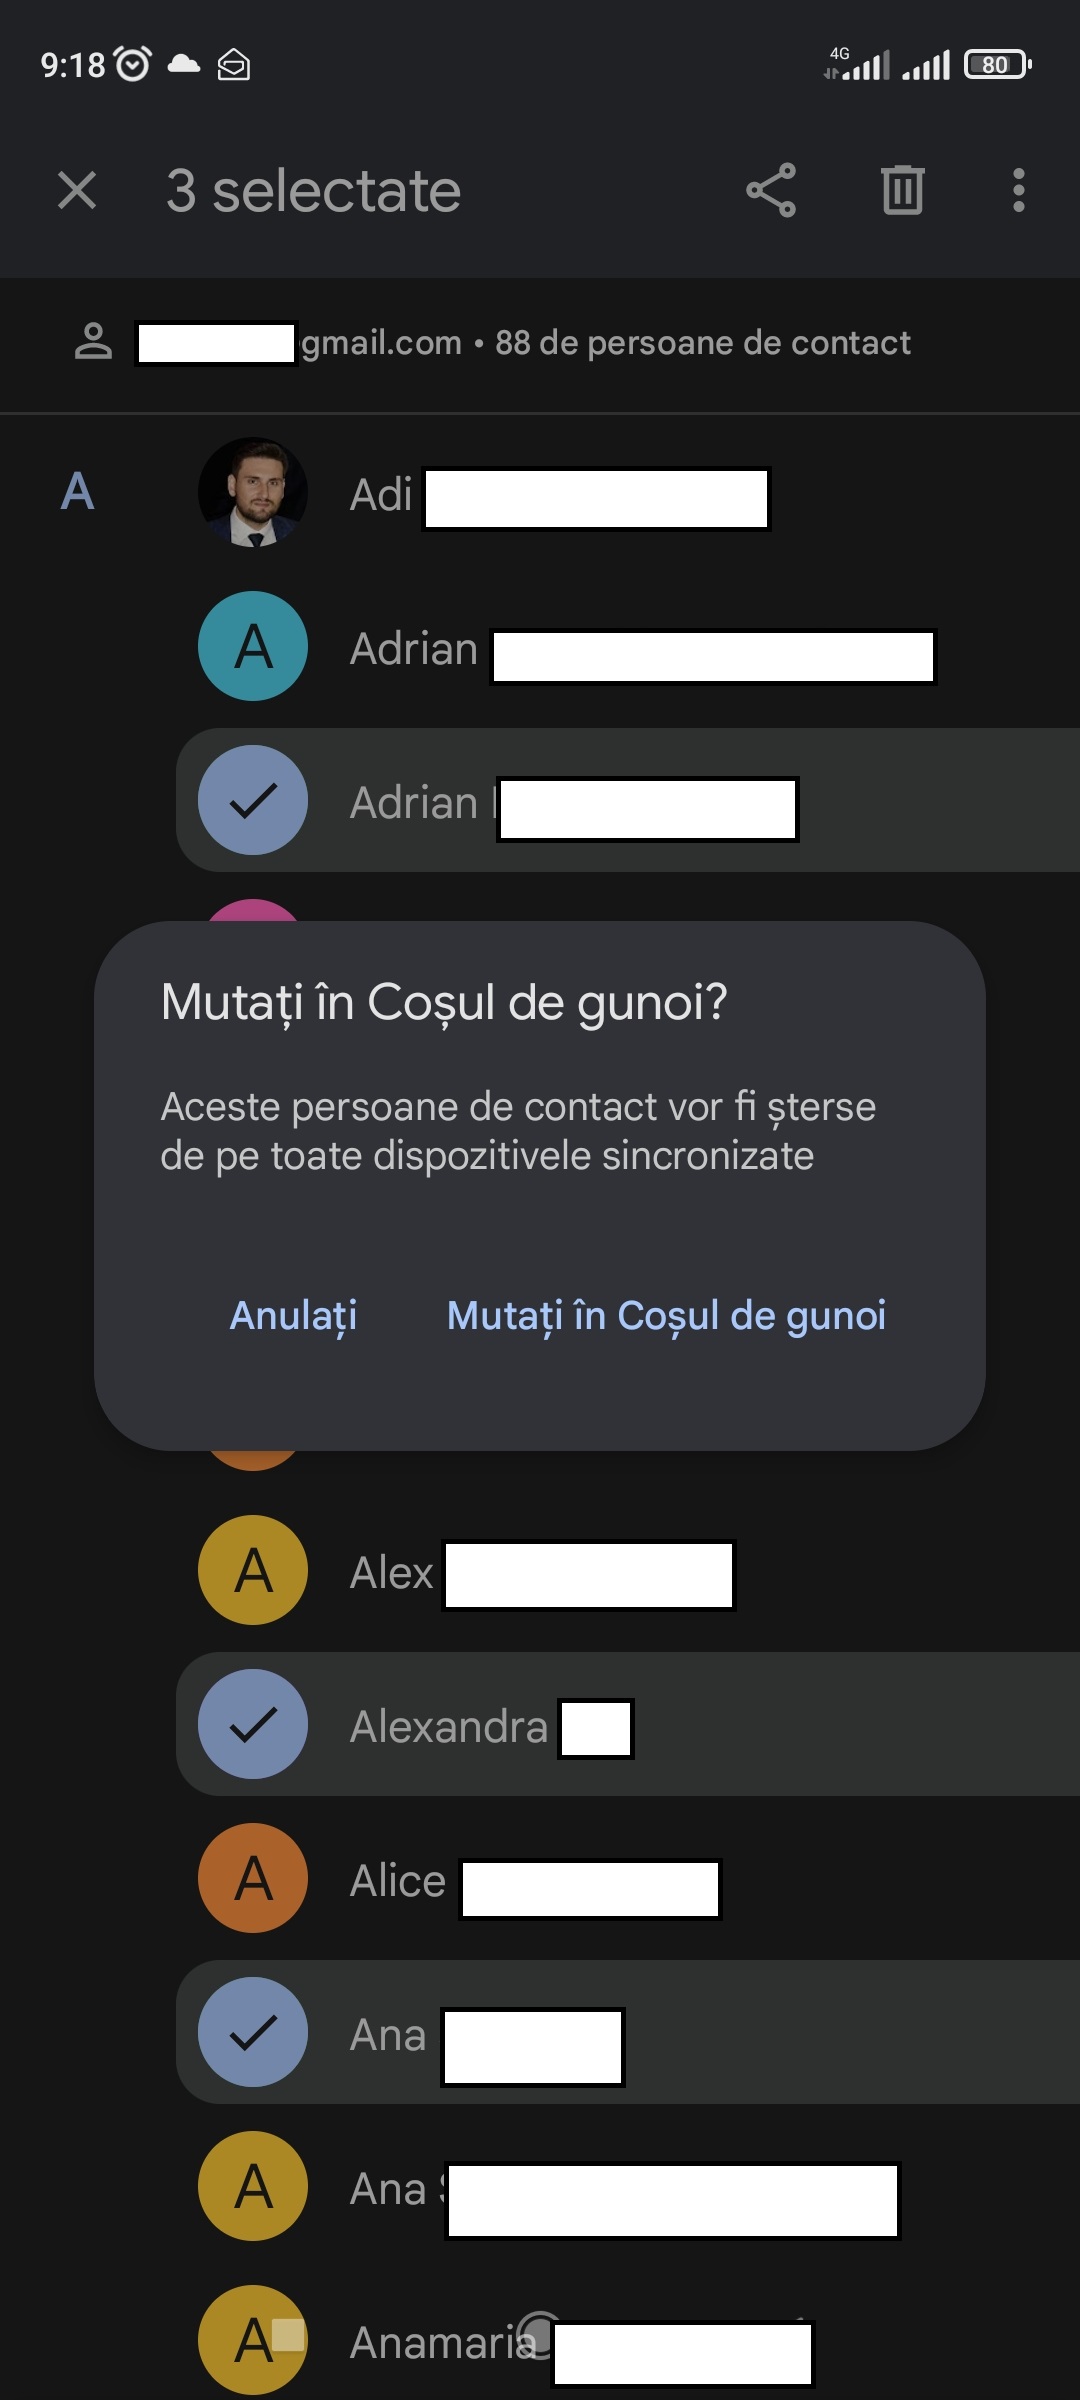
Contactele selectate vor fi șterse de pe telefon. Dacă au fost salvate pe un cont Google, acestea vor fi șterse de pe toate dispozitivele. Contactele șterse sunt mutate la Coșul de gunoi, insa le puteți recupera în termen de 30 de zile.
[mai mult...]
In order to allow their users to install software, Linux distributions need a software packaging system. If the distribution is a fork of another established distribution, it’ll usually stick with the packaging system of the older distribution.
Traditionally, application developers had to either package their application in every format that they chose to support or to work with the maintainers of the different Linux distributions and pass the packaging steps over to them. The latter introduces delays in getting new releases into the hands of the users, the former gives the developers a lot of extra work.
The Snap and Flatpak projects try to deliver the Holy Grail of package distribution: package your application once, and install it on any Linux distribution. Of course, there may or may not be a Snap or Flatpak for the application you’re after.
You can remove packaging systems from the equation completely, just as long as you are comfortable with cloning a Git repository and building an application from the source code. But not everybody is. And not all applications—even on Linux—are open source, so you can’t build everything from source anyway.
The maintainers of some distributions are great at getting packages for other platforms and repackaging them for their own package management system, including closed-source applications. But there will always be cases where an application offers a DEB or an RPM—the big two formats—and everyone else needs to figure it out for themselves.
Programs like alien exist to solve the problem of converting a package file from another distribution to the version you need on your Linux computer. That’s fine in theory, but how successful are they?
The proof of the pudding is in the eating.
We took three different RPMs and used alien to convert them to DEBs. We then tried to install the freshly-created DEBs on Ubuntu.
In all of our test cases, there was a DEB available for download too, so what we were doing was actually redundant. But we thought the test applications—Microsoft Edge browser, the Atom editor, and Slack—would be a good test of alien‘s capabilities so we ignored the off-the-shelf DEBs.
Installing alien was simple on Ubuntu, Fedora, and Manjaro.
On Ubuntu you can use this command:
sudo apt install alien

On Fedora, you need to type:
sudo dnf install alien

On Manjaro, the alien package is in the Arch User Repository. This means pacman won’t be able to see it, so we need to use an AUR helper program like yay. The package name is slightly different too.
yay -S alien_package_converter

To use alien you specify the file you want to convert, and the format you want to convert to. It creates a file with the same filename—usually—and with the extension of the format you asked for.
Using alien to create a package causes alien to increment the version number of the package. If the package number is in the filename, the filename will be changed too.
These are the formats alien can convert from and into.
The format option we’ll be using is -d (DEB) as we’re converting to a DEB file. We’ll also use the -c (scripts) option to convert any scripts contained in the package.
We downloaded an RPM for Microsoft’s Edge browser, and ran the following command on it:
sudo alien -d -c microsoft-edge-beta-97.0.1072.54-1.x86_64.rpm

Without the -c (scripts) option it didn’t create the DEB file, it reported an error. With the -c option, it did create the DEB.

Note the DEB filename contains 54-2, not 54-1.
Converting scripts is unlikely to end well. They may well be written for a particular situation or configuration unique to the genuine target platform of the original package file. Because of this, we didn’t have high hopes. Nevertheless, we tried to install the DEB with the dpkg program and the -i (install) option.
sudo dpkg -i microsoft-edge-beta_97.0.1072.54-2_amd64.deb

It didn’t work.
We also tried double-clicking the DEB file and using the Ubuntu Software application to install the DEB. Interestingly, the Software application knew that the DEB had been created by alien.

That didn’t work either. Just to make sure the Edge browser would actually install on Ubuntu, we installed the official Microsoft Edge DEB file.
sudo dpkg -i microsoft-edge-beta_97.0.1072.54-1_amd64.deb

That worked without an issue. You can see below Microsoft Edge running on Ubuntu.

We downloaded the RPM install package for the popular Atom editor. We used the same alien command to convert it to a DEB.
sudo alien -d -c atom.x86_64.rpm

That created a DEB file without any warnings or errors. We installed it using the dpkg command with the -i (install) option.
sudo dpkg -i atom_1.58.0-1.1_amd64.deb
![]()
That worked perfectly.

Finally, we tried converting the Slack RPM to a DEB.
sudo alien -d -c slack-4.23.0-0.1.fc21.x86_64.rpm

Again, this created a DEB with no warnings and no errors. We used this installation command:
sudo dpkg -i slack_4.23.0-1.1_amd64.deb

The installation worked flawlessly. Slack was up and running with no issues.

A utility such as alien is inevitably fighting an uphill battle. The odds are stacked against it being able to work in every case, and this was borne out by our small amount of testing. Having said that, when it worked it was great.
Adding a table of contents to your document is a useful way to show readers each topic/chapter listed inside your file. When you create a table of contents in Google Docs, it automatically generates one and adds links that jump to each section they reference when clicked, allowing for quick access to specific parts of your document.
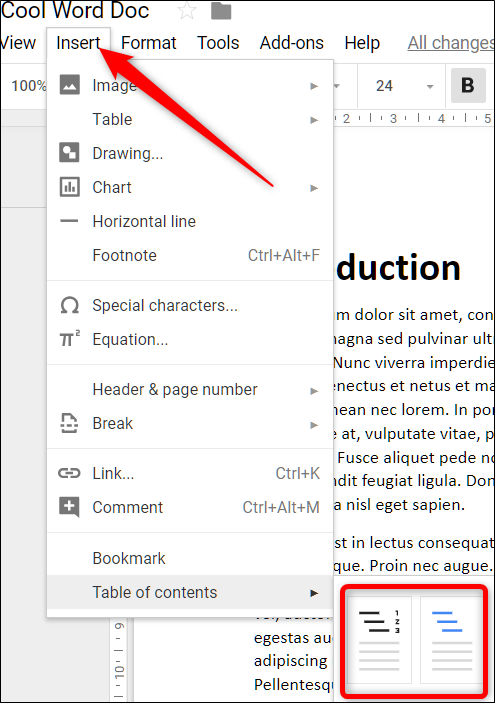
Place the insertion point in your document where you want the table of contents to go. Typically, tables of content appear after the initial title but before the introduction or body of your document.
Click “Insert,” point to “Table of Contents,” and then click on either of the two options provided. The first option is a plain-text table of contents with numbers on the right side. The second option doesn’t use page numbers, but instead inserts hyperlinks that jump to the noted section. The first is intended for documents you’ll print, the second for documents to be viewed online.
Note that in order to create an automatically generated table of contents that links to specific sections of your document, you must format each chapter—or title—using Google Docs’ built-in head styles. This lets Docs know how to populate the table add clickable links.

Each heading style is treated slightly differently in the table of contents. For example, the Heading 1 style denotes a top-level entry in the table of contents. Headings using the Heading 2 style are considered subsections and appear indented under the preceding Heading 1 style in the table. Heading 3 is a subsection of Heading 2, and so on.

If you change your headings (add, remove, or just modify the text), you can update your table of contents to reflect those changes by clicking the table of contents in the body of the document and then clicking the “Update Table of Contents” button (which looks like a Refresh button).

To delete a table of contents, right-click it and select “Delete Table of Contents.”


When you’re presenting a slideshow, the last thing you should worry about is how to control it. With the Google Slides presenter toolbar, you can concentrate on your presentation, not the navigation.
As a refresher, you can start your Google Slides presentation in a couple of different ways. After opening your slideshow, click View > Present from the menu, or use the Present drop-down in the upper-right corner and choose “Present From Beginning.”

With your slideshow ready to go, move your cursor to the bottom-left corner of the screen, and you’ll see the presenter toolbar display.
The presenter toolbar is transparent but brightens up when you place your cursor over it. This offers a nice, subtle appearance throughout your presentation.

The two arrows let you advance forward or move back one slide at a time. If you click the slide number in the center, you can jump to a particular slide in the presentation. This puts you in complete control of the show. On the right side of the toolbar, you have the overflow menu (three dots). The features in this area allow you to do even more with your presentation.
If you like to use the speaker note feature for talking points during your presentation, you can open them by selecting “Open Speaker Notes” in the menu. You’ll get a separate window that you can control and close when you finish with it.

With the built-in red laser pointer, highlighting parts of a slide is a breeze. Click “Turn on the Laser Pointer” in the menu. You can click it again to turn off the laser pointer or use the “L” key on your keyboard for a quick shortcut.

If you prefer your slideshow to play on its own, select “Auto-Play” in the overflow menu. You’ll see a pop-out list of time intervals for each slide. Choose one and watch the show play automatically.

You can also hit “Loop” for the continuous playing of your slideshow. When the presentation reaches the last slide, it will restart from the beginning.
[mai mult...]You might not think much about including a table of contents in a slideshow. But this can be a handy tool, especially for lengthy presentations. The nice thing about making a linked table of contents in Google Slides is that the application gives you a super simple way to do it.
Visit Google Slides, sign in, and open the presentation. You’ll start by adding a new slide and moving it to the start of the slideshow so that it’s at the beginning, just like the table of contents in a book or document.
You can select a slide that has the layout for the table of contents slide you want to add, or you can change the layout afterward. Just keep in mind that you’ll need a text box to add the text and links.

If you choose to use a blank slide, you can then select Text Box in the toolbar, and click on your slide to insert the box.

Once you have your slide and text box, you’ll move it to the beginning of the slideshow. Go to View in the menu and pick either “Show Filmstrip” to display slide thumbnails on the left or “Grid View” to display a grid of your slides.

Drag the table of contents slide to the start of the presentation so it becomes slide number 1. You can then return to your slide view by selecting the slide.

With your new slide ready to go, creating the table of contents in Google Slides is a breeze. You can use the slide titles or enter your own text and link it. Let’s look at both options for the one you prefer.
Place your cursor inside the text box. Select either the Insert Link button in the toolbar or Insert > Link from the menu.

When the link box appears, click “Slides in This Presentation” at the bottom. Select the first item in your table of contents.

You’ll then see the slide number and title pop into the text box with a link to that slide. You can then adjust the text if you like. For instance, you may want to remove the slide number or edit the title.

Continue the same process to add the remaining linked slide titles to your table of contents.
If you have slides without titles that you don’t plan to add or simply prefer to use different text in your table of contents, you can do this as well. Then, you’ll simply link the text to the corresponding slide.
Enter the text you want to use for the first table of contents item, then select it by dragging your cursor through it. Remember, you can select any text you like for the link; a sentence, phrase, or word.
Then click either the Insert Link button in the toolbar or Insert > Link from the menu.

When the link box appears, click “Slides in This Presentation” at the bottom or find a particular slide using the Search box.
Once you see the slide you want, select it. The link will apply to the text. To check it, click the linked text and you’ll see the pop-up window display the slide and link to it which you can click.

After you complete your table of contents, you can practice your presentation using the Slideshow button at the top of Google Slides. When you place your cursor over a link in the table, it transforms into a hand symbol. Click the link to go to the slide.
