How to Install Fonts on Windows 11
In Windows 11, fonts put personality into your writing with new typeface styles. In addition to the default fonts, you can easy to install new fonts—or remove fonts you don’t need.
[mai mult...]Soluții pentru problemele tale IT

In Windows 11, fonts put personality into your writing with new typeface styles. In addition to the default fonts, you can easy to install new fonts—or remove fonts you don’t need.
[mai mult...]When you open File Explorer on Windows 11, it opens with standard privileges by default. However, you may sometimes find yourself needing to run it with elevated privileges to perform certain tasks with admin rights.
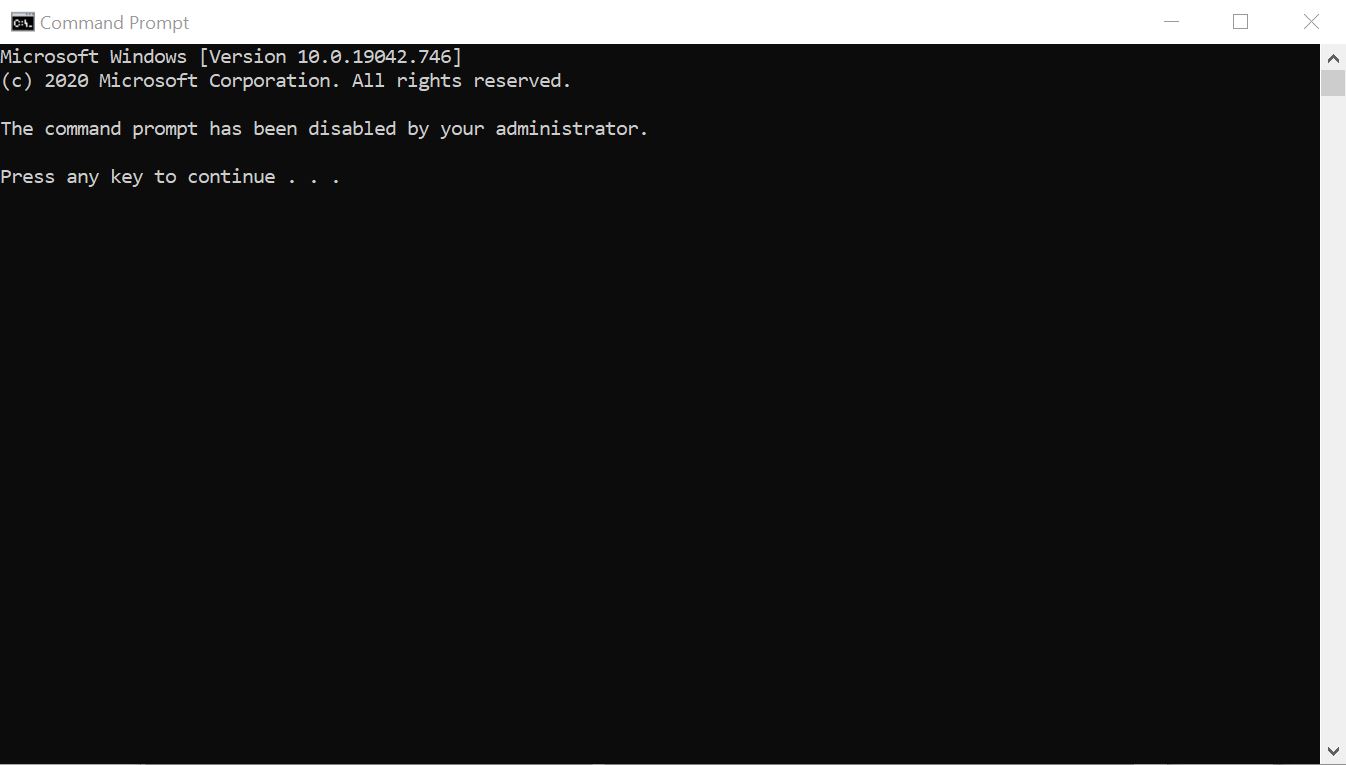
[mai mult...]Cand deschidem promptul de comanda, pe un calculator cu Windows 10, putem avea surpriza ca in fereastra de CMD sa apara un mesaj, care spune ca linia de comanda a fost dezactivata de catre administrator. Ce putem face cand linia de comanda este dezactivata în Windows 10?
There are two ways that Touch ID can cause you trouble. The first issue is that Touch ID may appear to act normally, but won’t recognize your fingerprints. This can happen for several reasons, but most of these are easy to solve.
The second issue is that Touch ID won’t work at all. For example, you might see a message that you’ve reached your fingerprint limit for Touch ID, even if you haven’t added any at all. You may also see a message that Touch ID enrollment failed when trying to add fingerprints. These issues can happen for a few reasons, but they usually involve either the Touch ID sensor itself or your Mac’s Secure Enclave. Fixing these takes a little more effort, but is still usually relatively simple.
If Touch ID seems to be working normally but isn’t recognizing your fingerprint, the first thing to try is cleaning the sensor. You can use a clean, dry cloth or electronic wipes to clean the sensor. Just to be sure, you can also wash your hands. Just make sure to wait until they’re dry to try using Touch ID again.
Has Touch ID started acting up after a recent update? If so, try updating macOS again to see if this resolves your issue. Click the Apple Icon in the top-right of the screen, then select System Preferences. Click “Software Updates” and macOS will automatically check for updates.

One final simple fix to try is adding another fingerprint. Open System Preferences, then go to Touch ID. Select “Add Fingerprint” and follow the prompts to add your fingerprint.

To determine whether Touch ID is working properly on your Mac, you can restart in Safe Mode to see if Touch ID works there. This is a simple process to try, though the steps are slightly different if you’re using a Mac with an Apple Silicon chip like the M1.
If your computer is on, click the Apple Menu in the top-right and select Restart. If it’s off, touch the power button.

As the computer powers on, hold the Shift button. When you see the login prompt, let go of shift and log into your Mac.
Shut down your Mac. Now press and hold the power button. Keep holding the button until you see a window of startup options. Select your startup disk (there’s usually only one), then hold Shift and click “Continue in Safe Mode.”
Once you’ve restarted in Safe Mode, go to the Touch ID settings System Preferences and try adding a fingerprint. If this works, restart your Mac as normal and see if the problem persists.
There are two ways to reset Touch ID settings on a MacBook Pro. Both are relatively easy to do, but one has some risks you’ll want to be aware of.
Resetting your Mac’s system management controller (SMC) can fix a variety of problems and won’t cause any issues with your system. The steps are simple.

Shut down your Mac by going to the Apple menu and choosing Shut Down. Now press and hold the power button for at least 10 seconds, then release it. Wait a few seconds, then press the power button to turn on your Mac again.
Though it does carry some risks, clearing your Secure Enclave data can resolve your Touch ID issues.
Warning: If your Mac uses Apple’s T2 security chip, this will likely erase all data on your Mac, including all of your files. If you proceed, make sure you’re positive that your Mac does not use the T2 chip or that you have all of your data backed up.
Reboot your Mac into recovery mode by selecting Restart from the Apple menu and holding down the “R” key while it restarts. Once you’re in recovery mode, open a terminal by going to Utilities > Terminal.

Run the following command:
xartutil --erase-allNow, restart your computer and try adding a fingerprint to Touch ID.
[mai mult...]Thanks to Windows 11, you can save energy, extend a portable PC’s battery life, and lengthen your screen’s lifespan if you configure your monitor or screen to automatically turn off after a certain period of time. Here’s how to set it up.

In Settings, select “System” in the sidebar, then click “Power & Battery.”

In Power and Battery options, click “Screen and Sleep” to expand the section if necessary.

The “Screen and Sleep” menu will reveal two to four options, depending on the type of PC you have. If you’re on a battery-powered tablet PC or laptop, you’ll see four options. If you’re using a desktop PC, you’ll see only two options.
To set how long it takes for your screen to turn off (if your PC is inactive), click the drop-down menu beside “On battery power, turn my screen off after” and select a time period, such as “5 minutes.”Similarly, use the drop-down menu labeled “When plugged in, turn my screen off after” to choose a screen turn-off time for when your computer is hooked to a steady power supply. If you never want the screen to turn off, select “Never.”

On this same page, you can also configure your PC to go to sleep after a certain time period as well, if you’d like. Sleeping is a special low-power state where your computer stops running tasks but can be resumed quickly when you need it.
When you’re done, close Settings. From now on, when your PC sits idle for the length of time you specified, your monitor or screen will turn off automatically. To turn it back on, wiggle your mouse, tap your screen, or tap a key like the space bar.
[mai mult...]Do you prefer a different color for an object in your photo? If so, use Adobe Photoshop’s Replace Color tool to change the color. It’s easy, and Photoshop does the heavy lifting for you.
[mai mult...]