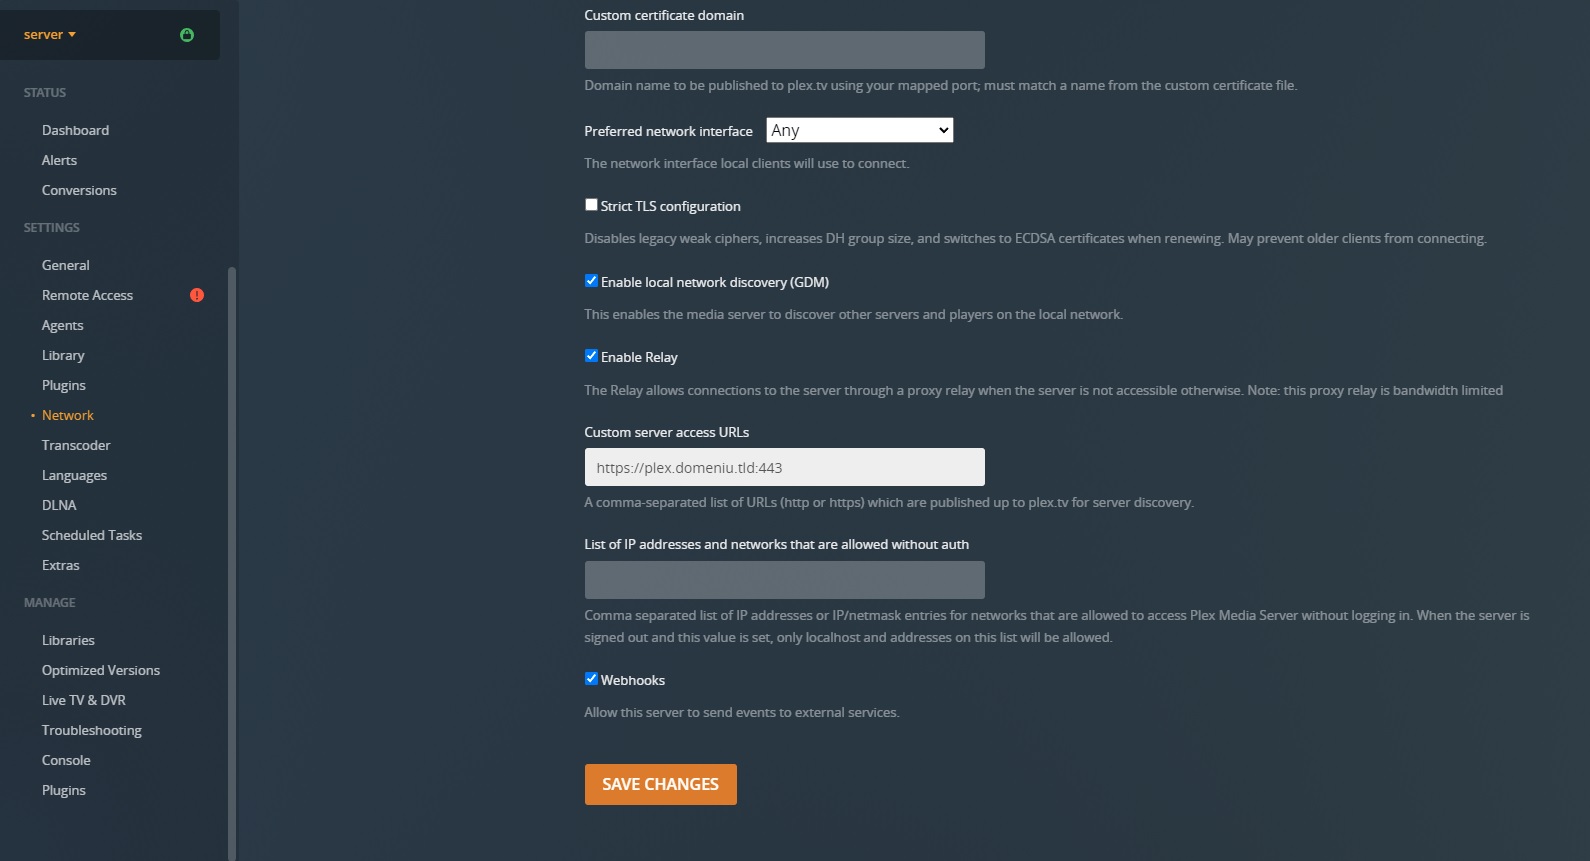
Situatie
Pentru a nu deschide un port suplimentar in WAN e necesar sa configuram un reverse proxy pentru a forwarda tot traficul prin 443 (https).
Solutie
Pasi de urmat
Instalam Nginx prin comanda:
sudo apt install nginx (Debian/Ubuntu)
Cream fisierul plex.conf in /etc/nginx/conf.d/ cu comanda:
sudo nano /etc/nginx/conf.d/plex.conf si copiam liniile de mai jos punand propiul domeniu la server_name:
server {
listen 80;
server_name plex.domeniu.tld;
set $plex http://127.0.0.1:32400;
gzip on;
gzip_vary on;
gzip_min_length 1000;
gzip_proxied any;
gzip_types text/plain text/css text/xml application/xml text/javascript application/x-javascript image/svg+xml;
gzip_disable “MSIE [1-6]\.”;
# Forward real ip and host to Plex
proxy_set_header Host $host;
proxy_set_header X-Real-IP $remote_addr;
#When using ngx_http_realip_module change $proxy_add_x_forwarded_for to ‘$http_x_forwarded_for,$realip_remote_addr’
proxy_set_header X-Forwarded-For $proxy_add_x_forwarded_for;
proxy_set_header X-Forwarded-Proto $scheme;
proxy_set_header Sec-WebSocket-Extensions $http_sec_websocket_extensions;
proxy_set_header Sec-WebSocket-Key $http_sec_websocket_key;
proxy_set_header Sec-WebSocket-Version $http_sec_websocket_version;
# Websockets
proxy_http_version 1.1;
proxy_set_header Upgrade $http_upgrade;
proxy_set_header Connection “Upgrade”;
# Buffering off send to the client as soon as the data is received from Plex.
proxy_redirect off;
proxy_buffering off;
location / {
proxy_pass $plex;
}
}
Salvam fisierul si folosim comanda “sudo apt reload nginx” pentru a aplica modificarile.


Leave A Comment?