Situatie
Solutie
Pasi de urmat
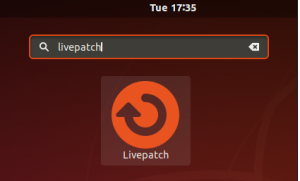
1. To launch the graphical setup interface, press the “Super” key. This is located between the “Control” and “Alt” keys on the lower-left of most keyboards. Search for “livepatch.”
When you see the Livepatch icon, click the icon or press “Enter”.
The “Software and Updates” dialog window will appear with the Livepatch tab selected. Click the “Sign in” button. You are reminded that you need an Ubuntu One account.
Click the “Sign in / Register” button
2. The Ubuntu Single Sign-On Account dialog window appears. Canonical uses the terms “Ubuntu One” and “Single Sign-On” interchangeably. They mean the same thing. Officially “Single Sign-On” was replaced by “Ubuntu One”, but the old name lingers on.
Enter your account details and click the “Connect” button. You can also use this dialog window to register for an account if you have not already created one.
You will be prompted for your password.
3. Enter your password and click the “Authenticate” button. A dialog window shows you the email address associated with the Ubuntu One account you’re going to use.
You’ll be asked for your password once more. After a few seconds, the Livepatch tab in the “Software and Updates” dialog window will update to show that Livepatch is live and active.
A new shield Icon will appear in the tool notification area, close to the networking, sound, and power icons. The green circle with the tick tells you all is well. Click the icon to access the menu.
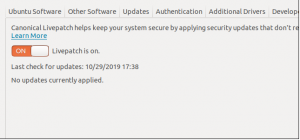
We are told that Livepatch is on, and there are no current updates


Leave A Comment?