Situatie
Many users reported that their fingerprint not working after the Windows 11 update.
Solutie
1. Add New Fingerprint
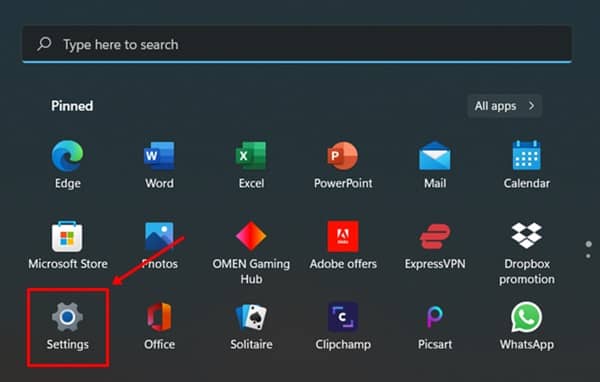
- Firstly go to the Start menu of Windows 11 and click on Settings. Alternatively, you can press the Windows + I button.
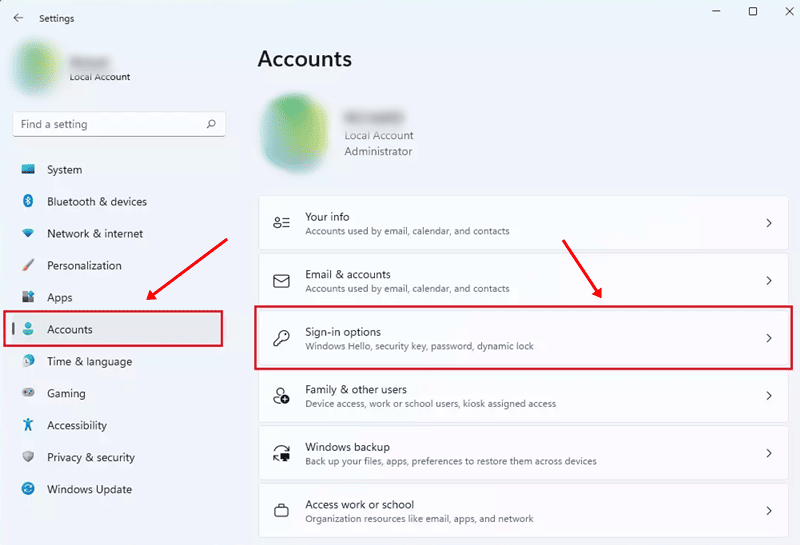
- Now on the left many select Accounts.
- Click the Sign-in options on the right pane of the Accounts menu.
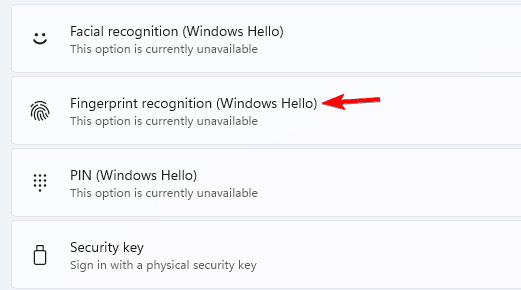
- After that expand the Fingerprint recognition options where you have the option to remove or add new fingerprints. Click on the Add a finger button.
- Follow the instruction from your screen and try to log in with newly added fingerprints.
2. Uninstall and Reinstall Drivers
- Press Windows + R button to open a Run dialog box and type devmgmt.msc and hit enter.

- Now you can see your device manager is opened. Locate Biometric devices and expand that option.
- Now from the below list of Biometric devices, you need to right-click on that specific device and click on Uninstall device.
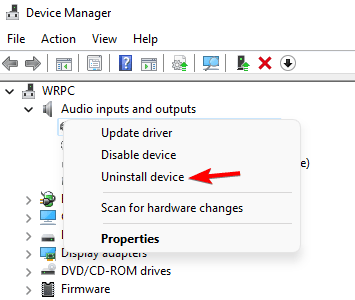
- Click on Uninstall button on the confirmation window and restart your computer.
- On the restart, windows will automatically detect and install fresh drivers on your Windows 11.
NOTE- If your windows do not automatically install drivers we recommend you to use driver updater tools that can detect your hardware and install suitable drivers for your computer.
3. Update Biometric Drivers
- Press Windows + X key to open the start menu options and select Device Manager.
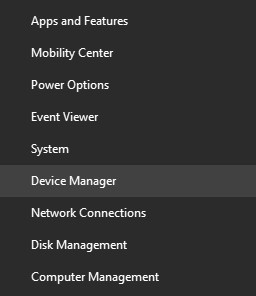
- Locate Biometric devices and expand that option and right-click on the device and click on Update driver.

- On the next screen, you need to select Search automatically for drivers option.
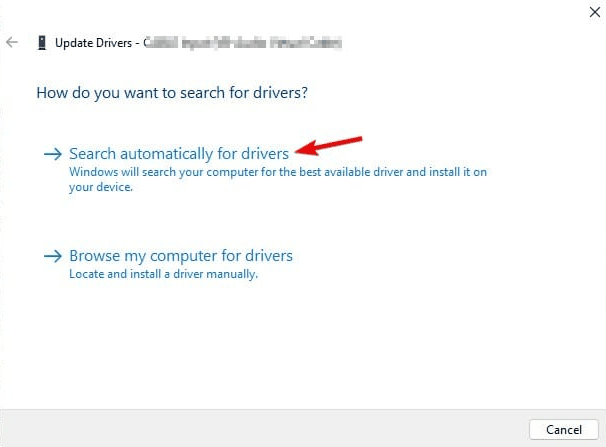
- After that follow the on-screen instruction to update your Biometric Drivers.
4. Check for Windows Updates
- Click on the start menu and select settings.
- On the left menu click on Windows Update in the last option.

- Now you can see the windows updates available for your PC. You can also click on Check for updates.
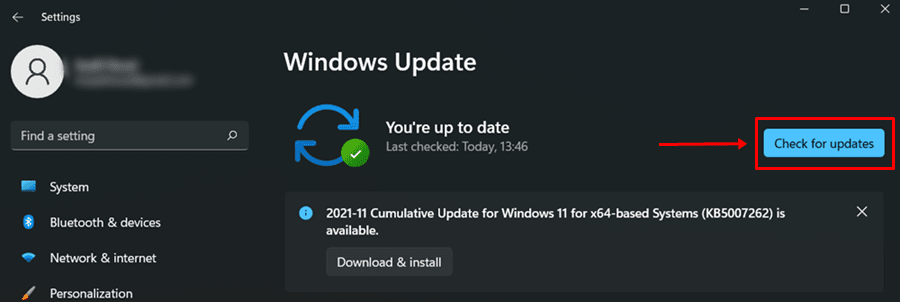
- If there is any latest update available for your windows 11 pc they can fetch and show in this option.

Leave A Comment?