Situatie
If the cursor doesn’t appear on the screen as you move the mouse, it could be due to a faulty mouse not registering its actions properly. So, before proceeding further, ensure your mouse is not defective. A simple way to check is to disconnect the mouse from your PC and connect it to another PC.
If the cursor doesn’t appear on other computers either, it indicates a problem with the mouse itself rather than the operating system. If you have a wired mouse, check that its cable isn’t damaged. If it’s a wireless mouse, try replacing the battery to ensure it hasn’t died. However, if the mouse works fine on other devices but not on yours, proceed with the remaining checks.
Solutie
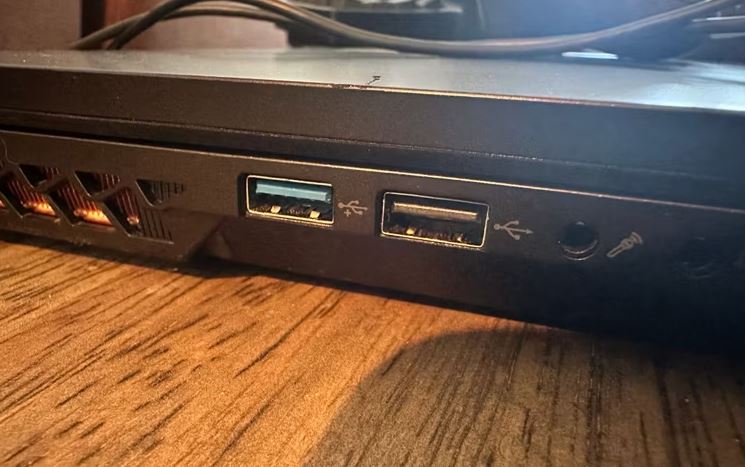
A defective USB port can also prevent the mouse’s actions from registering on your computer. To eliminate this possibility, plug your mouse cable (or the mouse’s receiver in the case of a wireless mouse) into another port on your computer. If the mouse functions normally on the alternate port, the original port is likely faulty. You should stop using it.
Turn Off the Tablet Mode
Unlike its predecessors, Windows 11 does not have a manual toggle to activate tablet mode, and the feature is now exclusive to 2-in-1 devices. The system automatically transitions to tablet mode upon connecting/disconnecting the keyboard or rotating the screen on a convertible, flip, or detachable device.
Switching to tablet mode from the standard desktop mode can also cause your mouse cursor to disappear. To eliminate this possibility, revert the tablet mode into laptop mode by reattaching the keyboard or rotating the screen back into a laptop orientation and check if it resolves the issue. If you’re using a non-touch regular laptop, you can skip this step.
Update Your Mouse Drivers
Outdated drivers can also cause the mouse cursor to disappear. To eliminate this possibility, install the latest drivers from the mouse manufacturer’s website. Open your preferred browser, press Ctrl+T to open a new tab, search for manufacturer mouse drivers, and press Enter. Use the Tab key to select the relevant (usually first) search result and press Enter. Take a look at our example for a Logitech mouse:

Use the Tab key to navigate to the download button on the site, and press Enter to download the drivers. Once the download is complete, run the driver file for installation if it’s in an executable format. If manual installation is required, press Win+X, use the downward-pointing arrow key to select the Device Manager, and press Enter to open it.
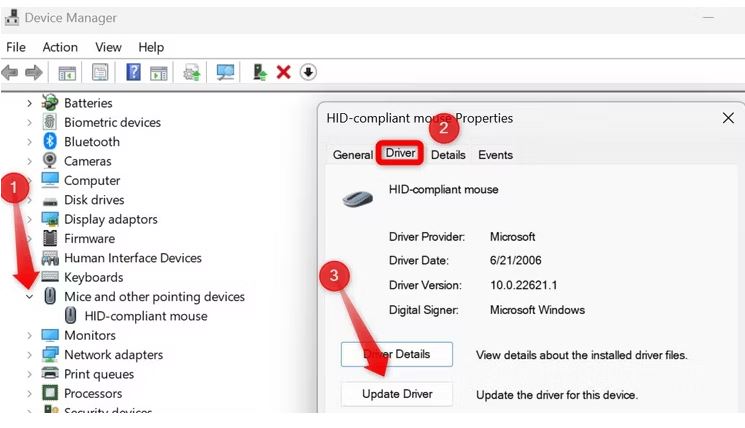
Subsequently, press the Tab key, use the downward-pointing arrow key to navigate to the “Mice and Other Pointing Devices” category, and press the right-pointing arrow to expand it. Select your mouse device, and press the Enter key to open mouse properties. Here, navigate to the “Driver” tab, select the “Update Driver” button, and press Enter.
Select “Browse My Computer for Drivers” and press Enter again. Follow the on-screen instructions to choose the downloaded drivers and install them. Afterward, repeat the same steps to download and install the latest graphics drivers from your manufacturer’s website.
Check for App-Specific or Interference Issues
If the mouse cursor only disappears within a specific app and reappears upon exiting that app, check whether the app even allows navigation using a mouse cursor. If it does, check for settings that enable users to switch from mouse (cursor) navigation to keyboard or touch navigation. Make sure that such a setting, if present, isn’t activated.
Likewise, using any third-party app to customize the mouse cursor or other mouse functions could interfere with mouse operations and lead to this issue. To eliminate this possibility, turn off the third-party app temporarily. If you don’t use any third-party app, proceed to the next troubleshooting step.
Change Some Mouse Settings
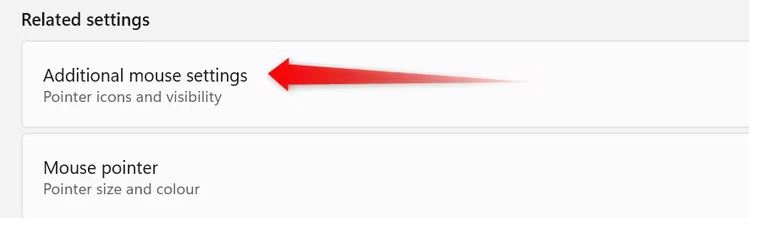
If none of the above solutions resolve the issue, you may need to adjust some mouse settings. Type “Mouse Settings” in Windows Search and open the matching result. Navigate to “Additional Mouse Settings” and press Enter.
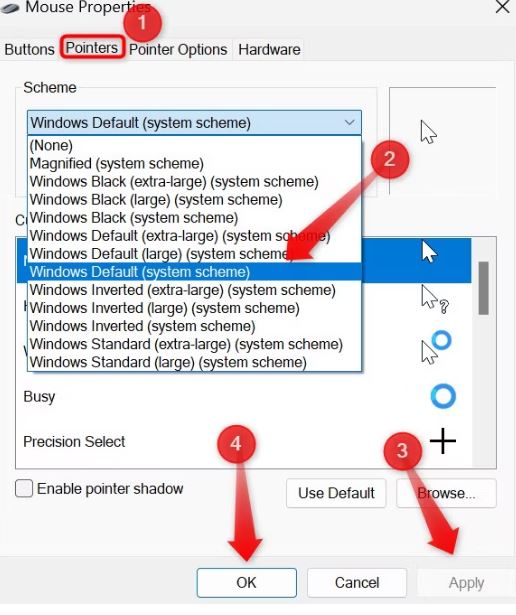
Go to the “Pointers” tab in the Mouse Properties window and select “Windows Default (System Scheme)” under Scheme. Also, uncheck the box next to “Enable Pointer Shadow.” Afterward, navigate to the “Apply” and “OK” buttons and press Enter.
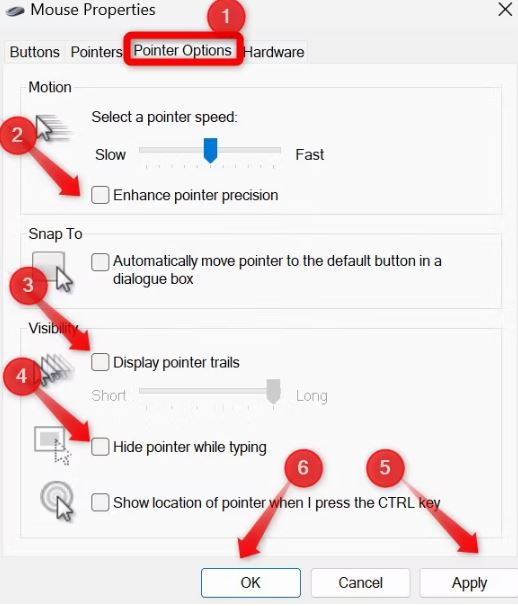
Next, move to the “Pointer Options” tab and uncheck the boxes next to the “Enhance Pointer Precision,” “Display Pointer Trails,” and “Hide Pointer While Typing” options. Again, navigate to the “Apply” and “OK” buttons and press Enter.
That’s how you can restore the function of your mouse cursor. If the problem persists, perform a System Restore to revert your PC to a previous state.
Leave A Comment?