Situatie
Solutie
Pasi de urmat
You can do this right from within the Files app—no third-party app required. The simple act of copying photos from the Photos app and pasting them in a folder in the Files app converts the photos from HEIC to JPG format.
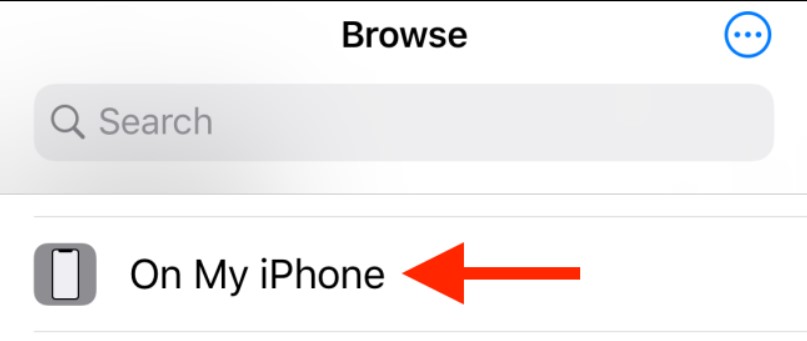
First, open the Files app on your iPhone or iPad. Here, either choose the “On My iPhone/iPad” location, or a cloud storage option. (If you choose the cloud storage location, the data will be counted against your online storage plan, and the photos won’t always be available offline.)
Here, tap and hold in the empty area, and choose the “New Folder” option from the popup.

Give the folder a name, and tap on the “Done” button.

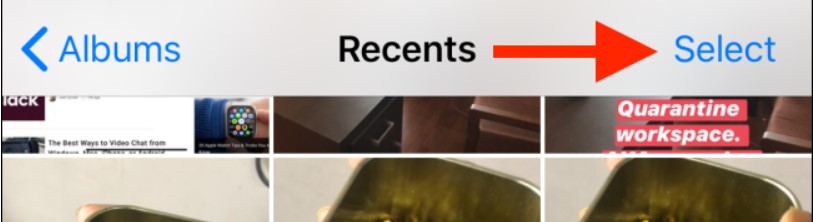
- Now, open the Photos app and navigate to the album that contains the HEIC photos.
- Here, tap on the “Select” button from the top toolbar.
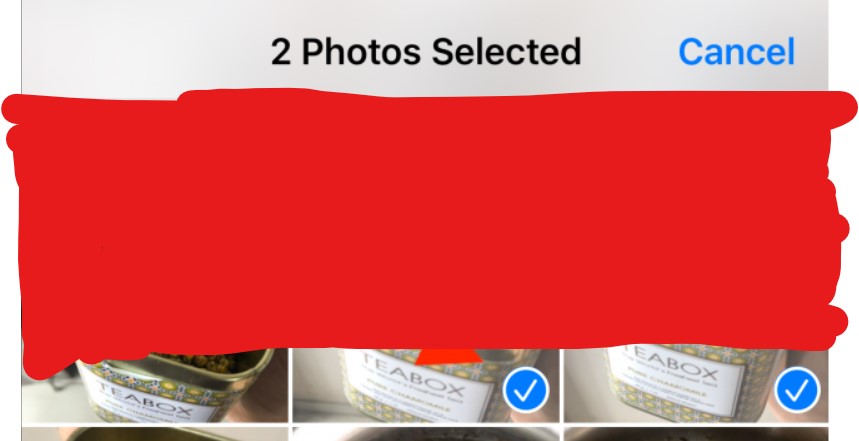
Now, select all the photos that you want to convert.
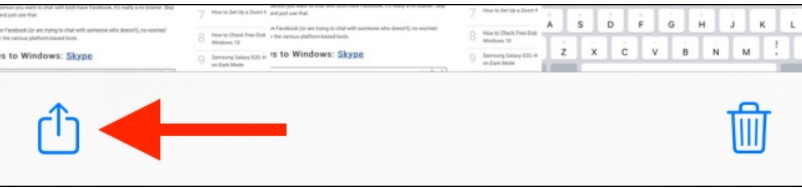
Tap on the “Share” button from the bottom-left corner.
From the Share sheet, choose the “Copy Photos” option.
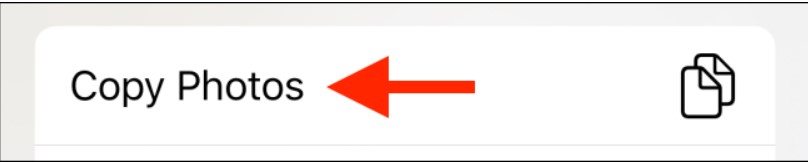
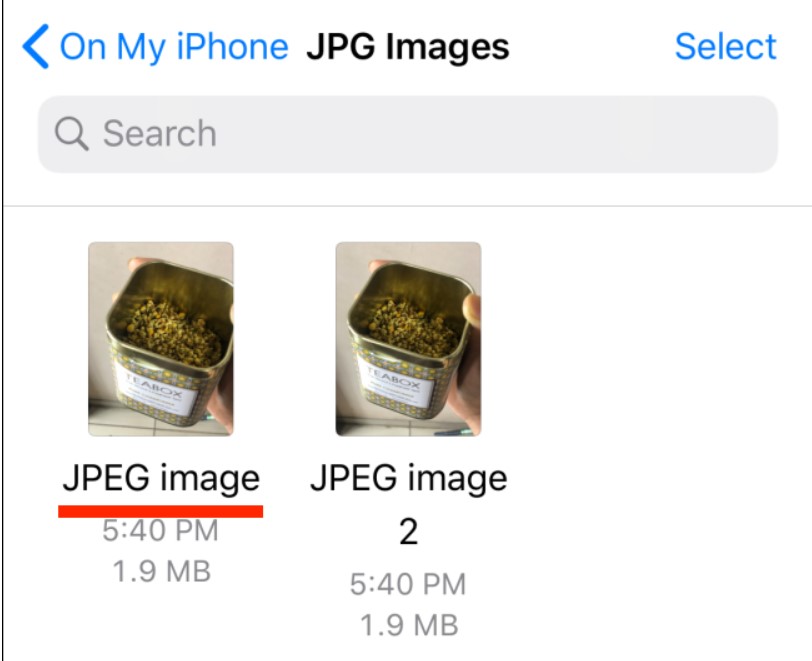
The photos are now in your clipboard. Open the Files app and navigate to the folder we created in the above steps.

Here, simply tap and hold in the empty area and choose the “Paste” option from the popup menu.

Instantly, you’ll see your HEIC photos show up here, in the JPG format.
Many other apps tcan quickly convert HEIC images to JPEG files on the App Store. Some may contain advertisements or require a payment. Search the app store and you’ll find them.
Leave A Comment?