Situatie
In previous versions of Windows, you could arrange icons inside the a folder freely. However, this option was removed from Windows 7 and all other versions that came after Windows 7.
If you’re missing this feature in Windows 10, there’s a way to disable auto arrange in folders in Windows 10.
Solutie
To disable auto arrange in File Explorer, do the following:
- Open any folder using File Explorer and right click the empty space.
- Go to View and make cure that Auto arrange option is unchecked.
- If the option is turned off you can easily arrange items in any way you want.
- Navigate to this key:
- HKEY_CURRENT_USERSoftwareMicrosoftWindowsShellNoRoam
- Delete the Bags subkey here as well. After that close Registry Editor.
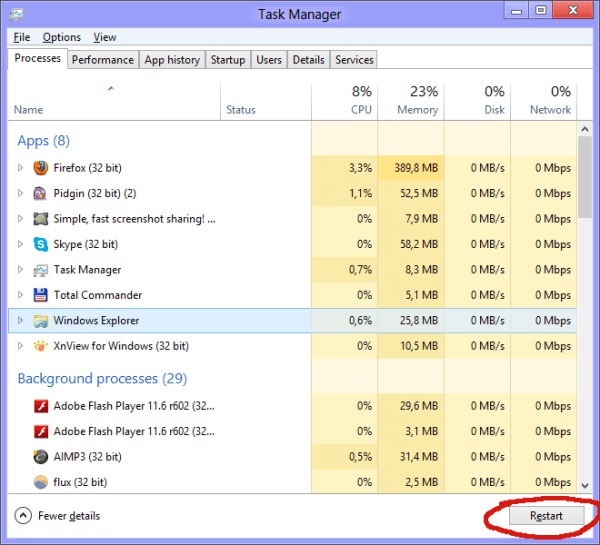
- Open Task Manager by pressing Ctrl+Shift+Esc. Locate Windows Explorer from the list of processes, and click the Restart button
- Download disable-auto-arrange.zip.
- Extract the files from the archive you just downloaded.
- Run disableautoarrange.reg to add it to your registry.
- Open This PC and close it.
- Now repeat Step 6 to restart Windows Explorer.Restart button.
Auto arrange should be disabled. Try to freely arrange files inside folders to check if this method worked. Again, keep in mind that this method works only for the large icons, medium icons, small icons and extra large icons icon views.
Leave A Comment?