Situatie
Solutie
Pasi de urmat
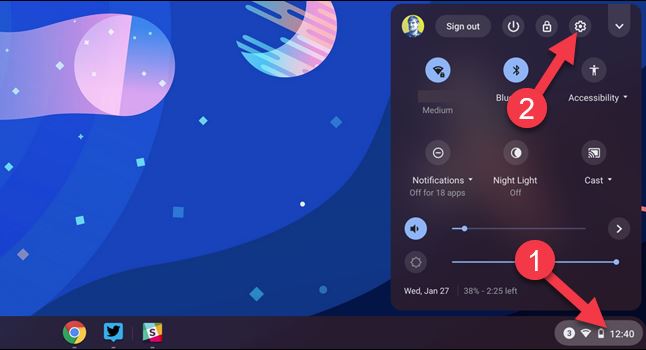
First, select the clock on the Shelf to open the Quick Settings panel. Click the gear icon to open the Settings menu.
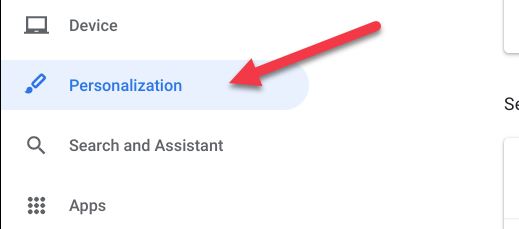
From the Settings, select “Personalization” in the left sidebar.
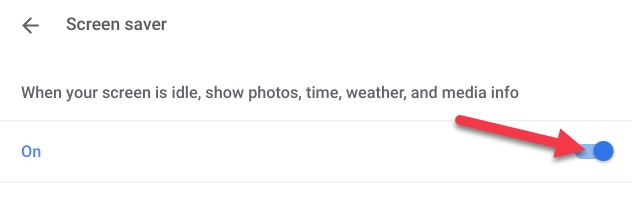
Click “Screen Saver” under the “Personalization” section.

Toggle on the “On” switch.
Now we have a few personalization options to work with. Under the “Background” section, you can choose between “Google Photos” or “Art Gallery”.
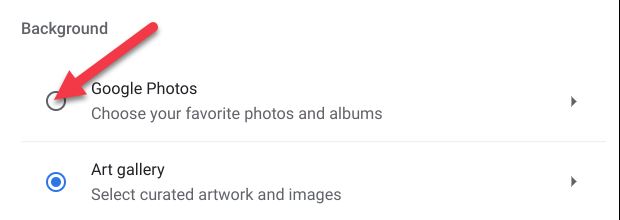
Each one will give you a few different albums to choose from. If you choose “Google Photos,” you can choose from your personal albums.
 .
.
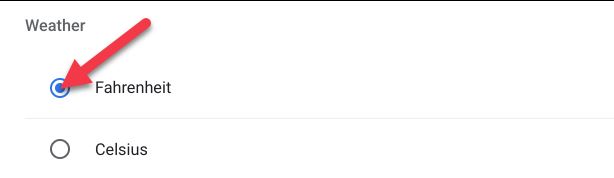
After you’ve made your background selections, go down to the “Weather” section and choose “Fahrenheit” or “Celsius”.
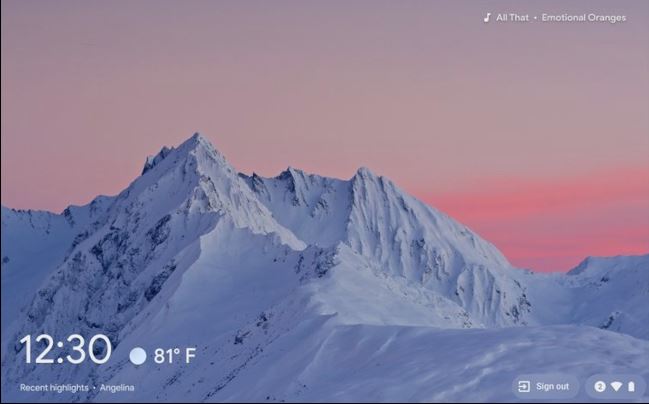
That’s all there is to it. The screen saver will automatically start when the device goes idle, which takes about six minutes on battery power or eight minutes when plugged in.
If you’d like to make the display stay on so you can enjoy the screen saver longer, open the Settings menu and go to Device > Power. Here, you can choose to “Keep Display On” when idle while charging or on battery.

Leave A Comment?