Situatie
Solutie
Pasi de urmat
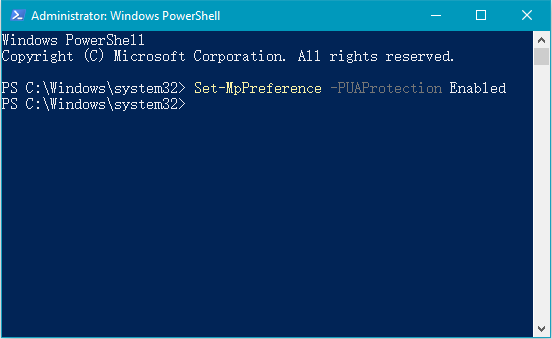
Use PowerShell cmdlets to configure the PUA protection feature
1, Press Win + S
2, Type powershell
3, Right click on Windows PowerShell, click Run as administrator
4, Enter the command:
Set-MpPreference -PUAProtection enable
5, Restart system, the PUA detection has been enabled.
Tip:
Setting the value for this cmdlet to Enabled will turn the feature ON if it has been disabled.
Setting the value for this cmdlet to disabled will turn the feature OFF if it has been enabled.
Setting AuditMode will detect PUAs but will not block them.
Edit Windows registry
Before start to edit Windows registry, please make a full registry backup.
1, Press Win + R
2, Type regedit, and press Enter
3, Expand and find:
HKEY_LOCAL_MACHINE\Software\Policies\Microsoft\Windows Defender
4, Right click on Windows Defender, select New – Key, and named MpEngine
5, Click on MpEngine, then right click on right area, select New – DWORD (32-bit) Value, named MpEnablePus
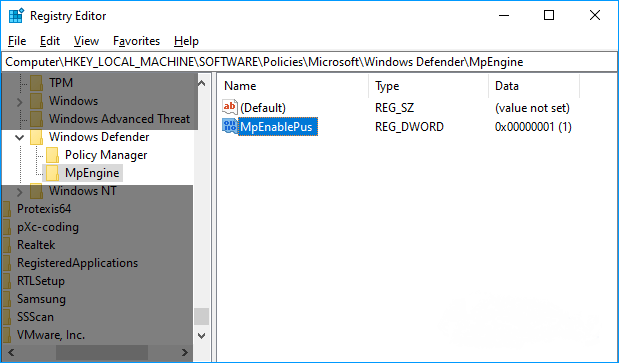
6, Double click MpEnablePus, set its Value data = 1
7, Restart system, then the PUA protection has been enabled.
Tip:
If you want to disable PUA detection, just change MpEnablePus value to 0, or delete registry entry MpEngine.
Leave A Comment?