Situatie
Assuming that the hard drive is installed properly, and is not defective out of the gate, bringing it online is a very simple process. To do so, you first need to pull up the Windows Disk Management tool.
Solutie
Pasi de urmat
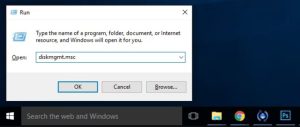
1. Press Windows+R on your keyboard to launch the Run dialog box. Type diskmgmt.msc into the box and press Enter.
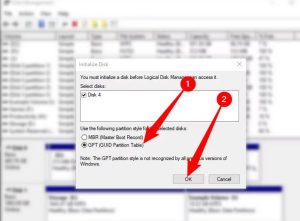
2. Disk Management will likely detect that you have a new drive and prompt you to initialize it. You should pick GPT if this option appears, then click “OK.”
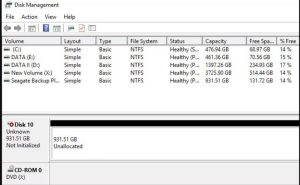
3. If it doesn’t show up, you just need to initialize it manually. In Disk Management, scroll down through the list of disks in the bottom pane. These disks will be labeled “Disk 1” through however many disks you have.
4. Right click on the name portion of the disk entry, where it says “Disk [#]”, and select “Initialize Disk” from the right-click context menu.
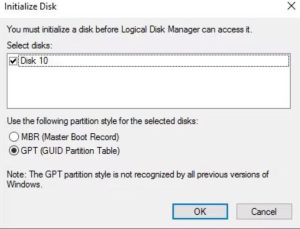
5. In the first step of the initilization process, you’ll be prompted to choose whether you want to use a Master Boot Record (MBR) or a GUID Partition Table (GPT) for the partition style of your disk. Unless you have a pressing reason to use MBR, use GPT instead—it’s newer, more efficient, and offers more robust protection against corruptions of the boot record.
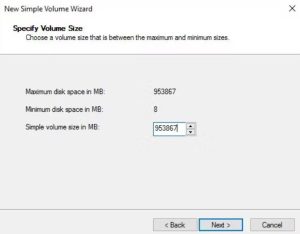
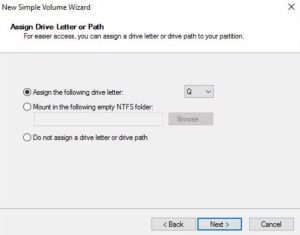
6. Click “OK” and you’ll be returned to the main Disk Management window. There you’ll find that your disk is now labeled “Basic” and “Online” on the left, but the contents are still “unallocated”. Right click on the striped box presenting the unallocated drive space. Select “New Simple Volume”.
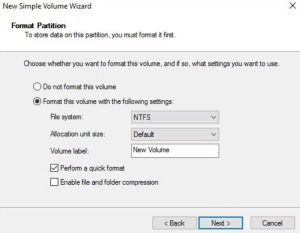
8. Finally, format the volume. If you’re using the volume for routine computing tasks (storing photos, video games, etc.) there’s no real need to deviate from the default NTFS file system and settings.Give your volume a name, click “Next”, and wait for the format process to finish.
When the process is complete, you’ll see your new drive–allocated, formatted, and ready in the Disk Management disk list.


Leave A Comment?