Situatie
Solutie
1. Run SFC and DISM Scans
Damaged or corrupted system files on your PC can often result in runtime errors. Fortunately, Windows includes a couple of tools — SFC (System File Checker) and DISM (Deployment Image Servicing and Management) — that can help you easily repair those system files. Here’s how to run them.
Step 1: Right-click on the Start icon and select Terminal (Admin) from the list.

Step 2: In the console, run the following command and press Enter:
sfc /scannow

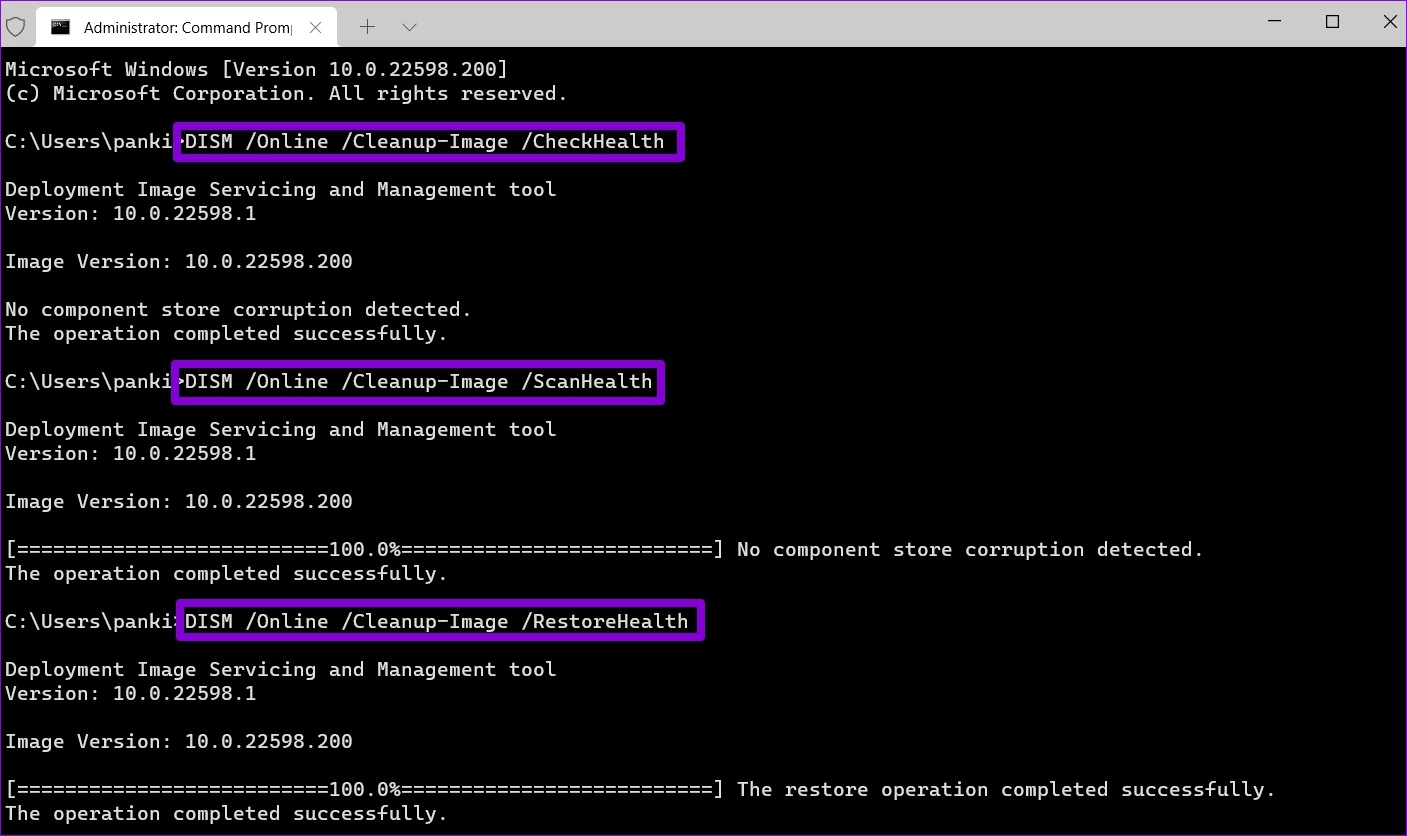
Step 3: Run the following commands one by one and press Enter after each one to run the DISM scan.
DISM /Online /Cleanup-Image /CheckHealth
DISM /Online /Cleanup-Image /ScanHealth
DISM /Online /Cleanup-Image /RestoreHealth
2. Repair Microsoft Visual C++ Redistributable Packages
Problems with the Visual C++ Redistributable packages on your PC can also give rise to runtime errors on Windows 11. You can try repairing those packages to see if that helps.
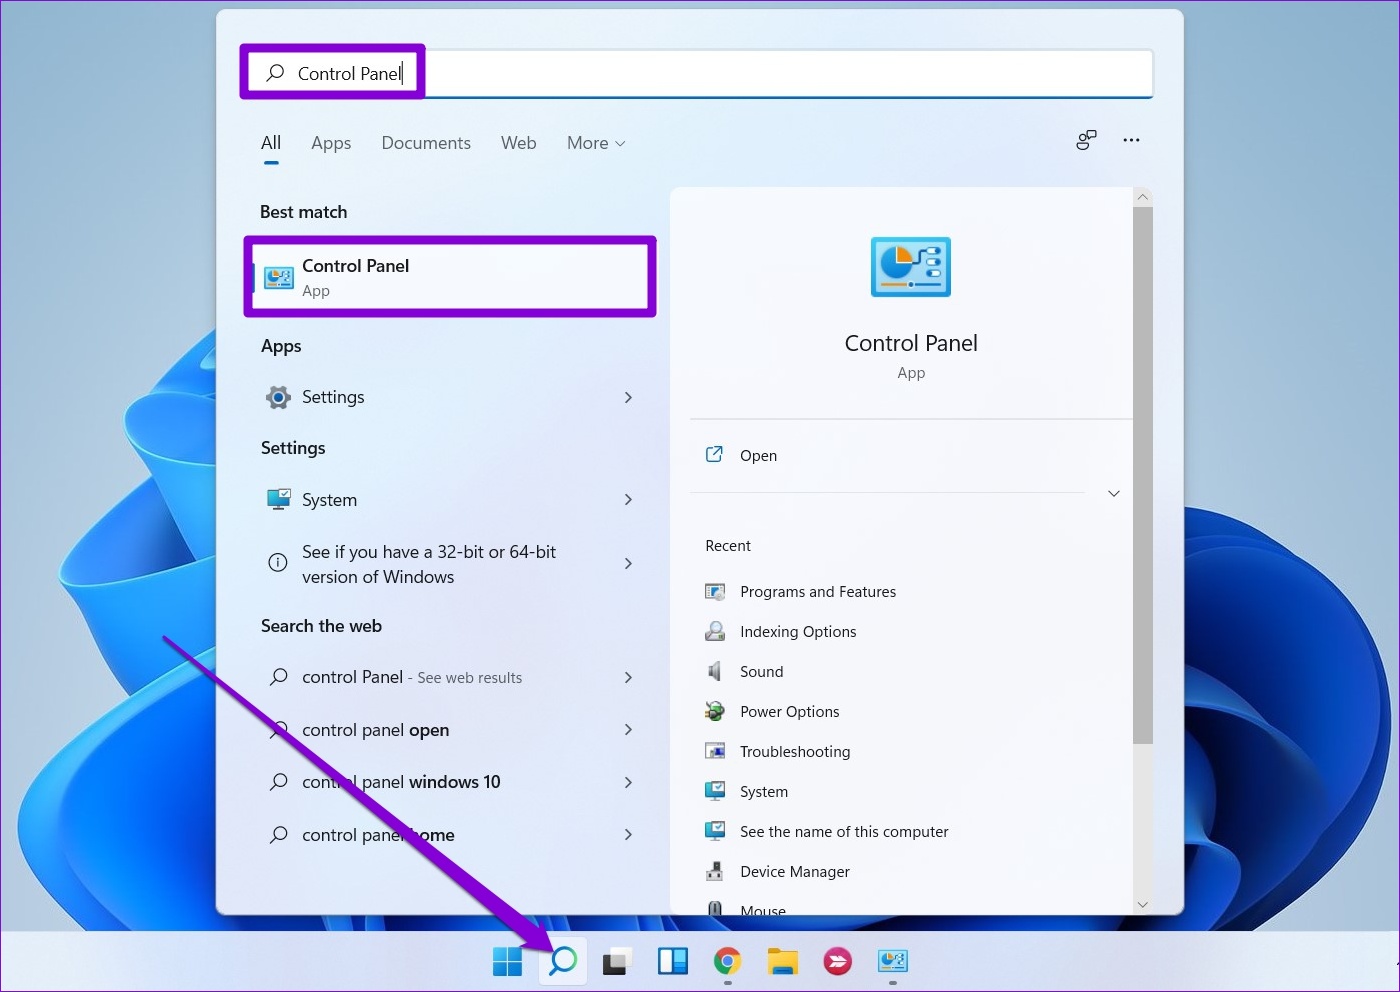
Step 1: Click the search icon on the taskbar, type in control panel, and press Enter.
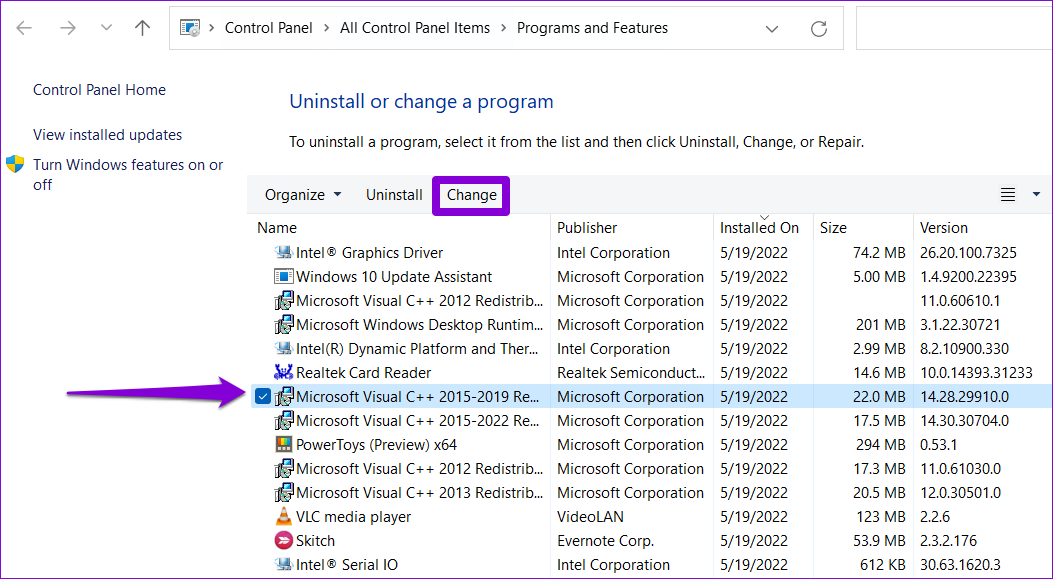
Step 2: Use the drop-down menu in the top right corner to change the view type to large or small icons. Then, go to Programs and Features.

Step 3: Select the Microsoft Visual C++ Redistributable package and click on Change. You’ll have to repeat this process to repair all the packages.
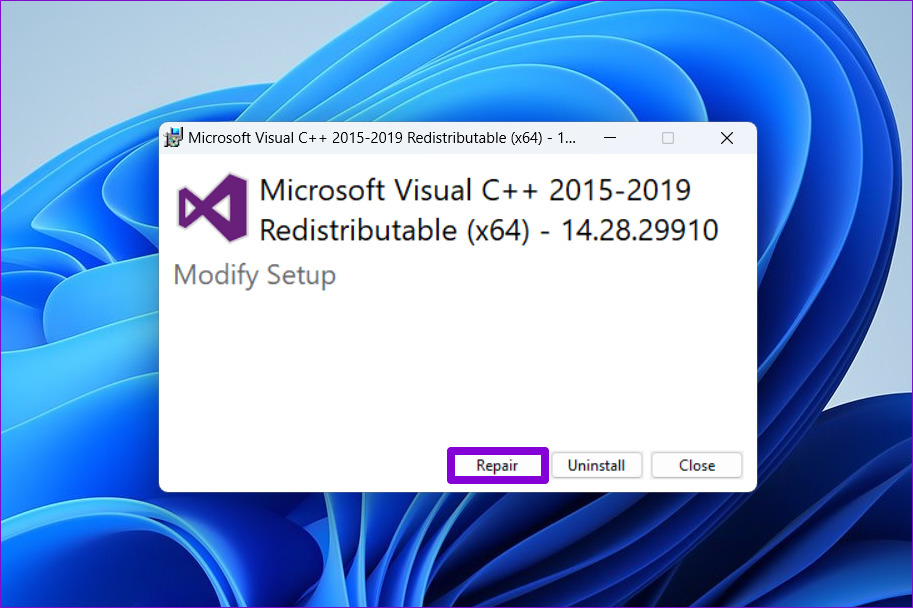
Step 4: Hit the Repair button and wait for the process to complete.
3. Reinstall Microsoft Visual C++ Redistributable Packages
If repairing Microsoft Visual C++ Redistributable packages does not help, you can try reinstalling them on your PC. Here’s how you can go about it.
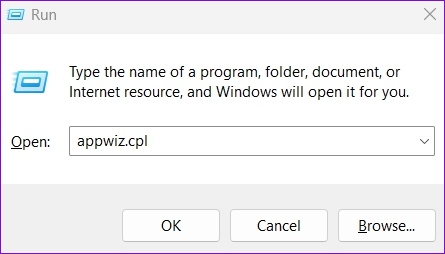
Step 1: Press the Windows key + R to open the Run dialog box. Type appwiz.cpl in the Open field and press Enter.
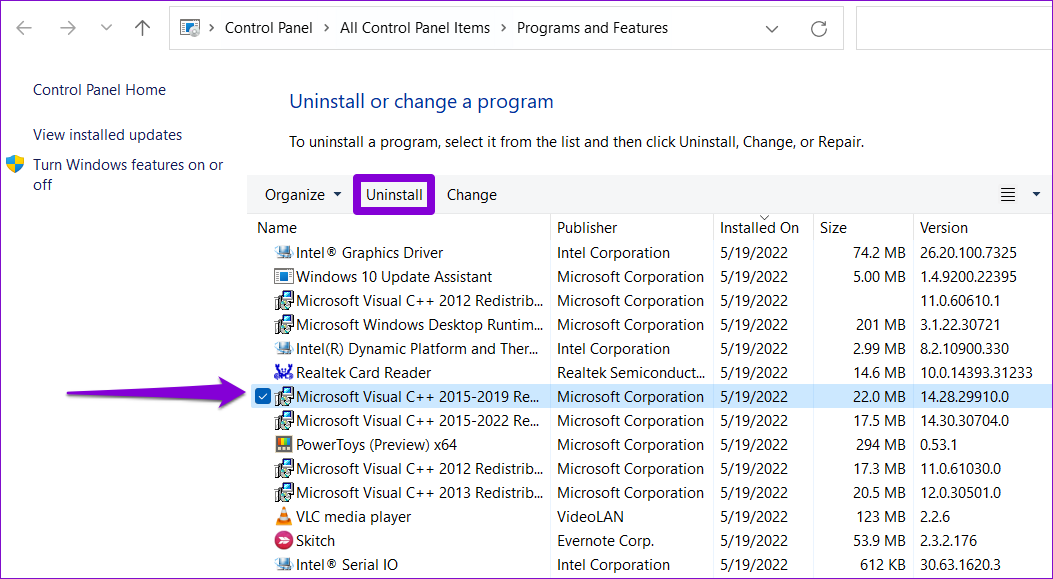
Step 2: Select the Microsoft Visual C++ Redistributable package and click on Uninstall.
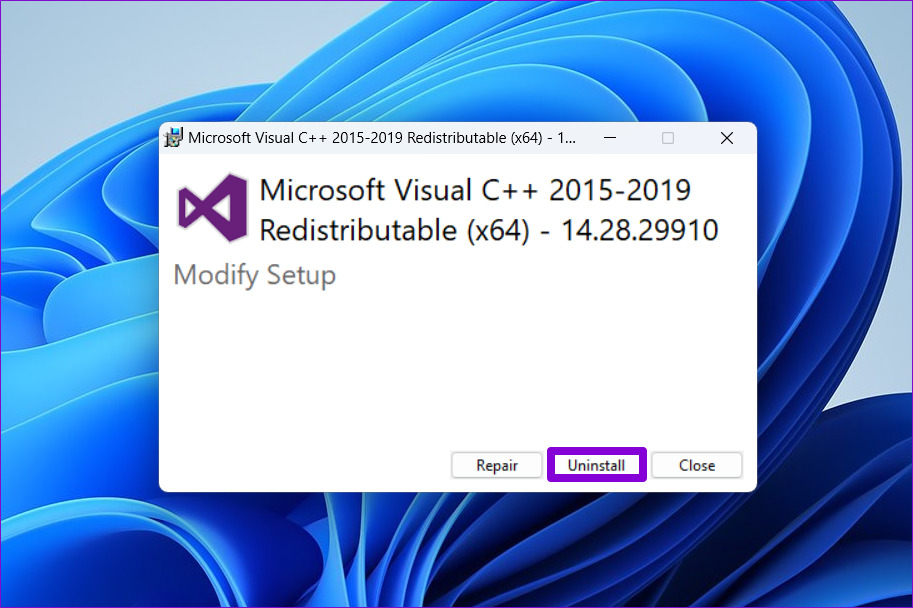
Step 3: Click Uninstall to confirm.
4. Update or Reinstall Graphics Driver
Outdated graphics drivers on your PC can also result in such issues. You can try updating those drivers from the Device Manager to see if that fixes runtime errors on Windows 11. Here’s how you can go about it.
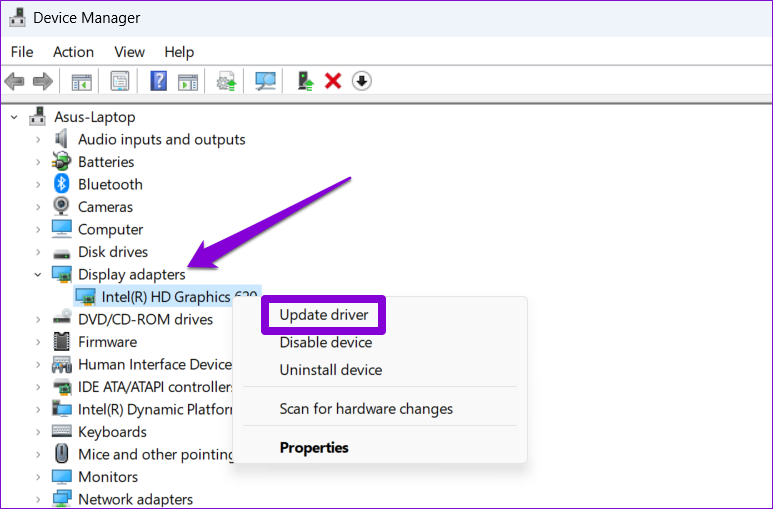
Step 1: Right-click on the Start icon and select Device Manager from the list.
Step 2: Click the tiny arrow on the left of the Display adapters to expand it. Then, right-click on your graphics driver and select Update driver.
Follow the on-screen prompts to finish updating the driver. If the error remains even after that, you will need to uninstall the driver using Device Manager. After that, restart your PC and Windows will reinstall the missing driver during boot.

5. Reinstall the Program Causing the Runtime Error
Are you facing runtime errors accompanied by abnormal program termination messages when trying to launch a specific program? This issue might stem from an improper installation. You can try uninstalling that program and installing it again to see if that helps.
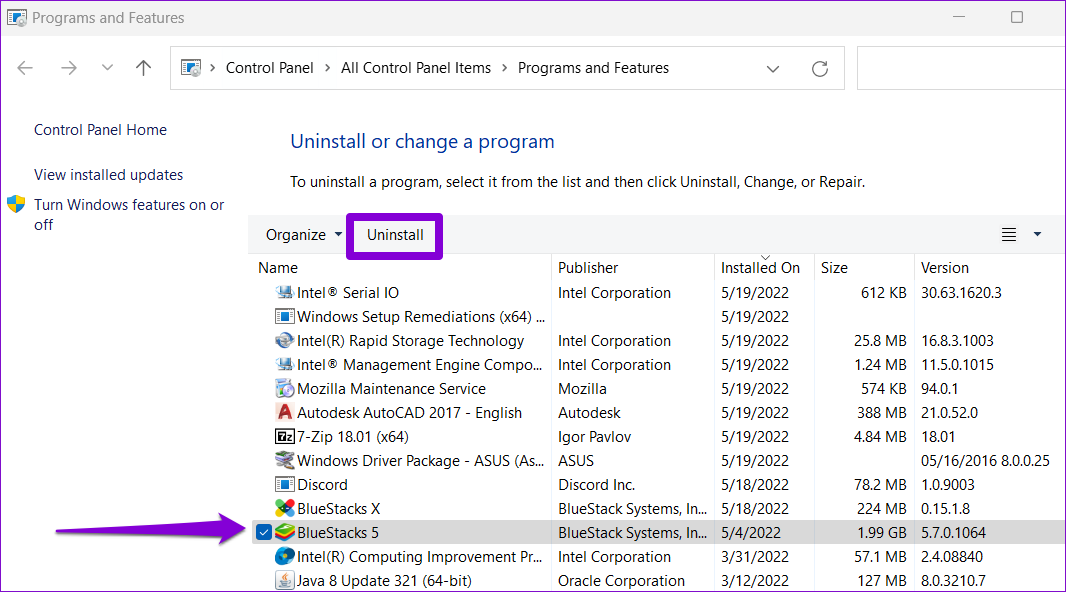
To uninstall a program, press the Windows key + R to open the Run dialog, type in appwiz.cpl, and press Enter.
Select the program you want to remove and click Uninstall. Then, follow the on-screen prompts to uninstall the program.
Reinstall the program and check if you still encounter the runtime error.
6. Install Windows Updates
Microsoft releases regular updates for Windows 11 to add new features, improve security, and fix known bugs. If the runtime errors on Windows 11 are occurring due to a buggy build, installing newer updates should help.
Press the Windows key + I to open the Settings app. Switch to the Windows Update tab and click on Check for updates.

Download and install any pending Windows updates and check if that fixes the issue.
7. Clear File Explorer Cache
Step 1: Press the Windows key + R to open the Run dialog box. Type the following path in the box and press Enter.
C:\Users\%username%\AppData\Roaming\Microsoft\Windows\Recent\AutomaticDestinations
Step 2: In the File Explorer window, select all the files and folders and click the trash icon at the top to delete them.

8. Try Clean Boot Mode
A third-party program or service running in the background may be interfering with Windows and triggering runtime errors. You can verify this possibility by booting your PC in a clean boot state.
Step 1: Press the Windows key + R to open the Run dialog. Type msconfig in the box and press Enter.

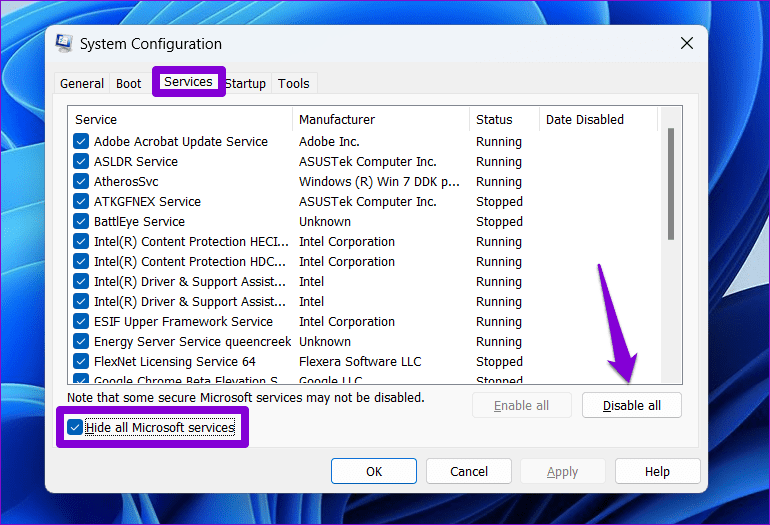
Step 2: Under the Services tab, check the box that reads ‘Hide all Microsoft services’ box. Then, click the Disable all button.
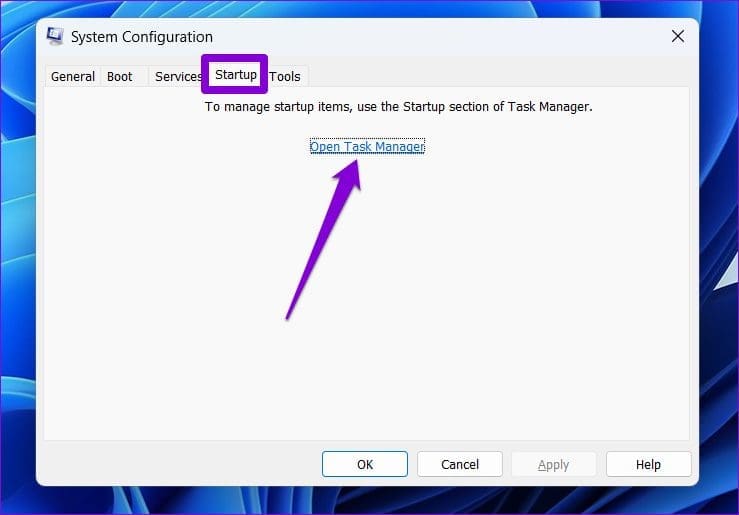
Step 3: Switch to the Startup tab and click on ‘Open Task Manager’
Step 4: In the Startup tab, select a third-party app and click on Disable at the top. Similarly, disable all the other third-party programs.
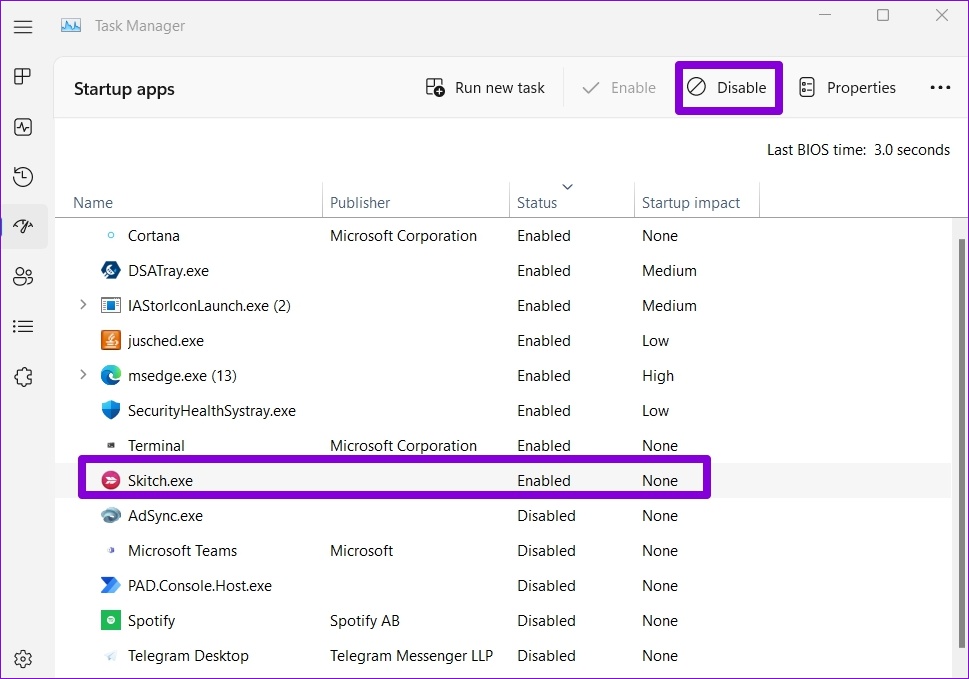
Restart your PC after this. If the runtime errors no longer appear in the clean boot state, one of the third-party apps or programs is to blame. You’ll need to remove any recently installed apps and programs one at a time to fix the issue.
9. Perform System Restore
If nothing else works, you can consider performing a system restore. This will allow you to undo any recent changes and revert Windows to its earlier state before the runtime errors start appearing.
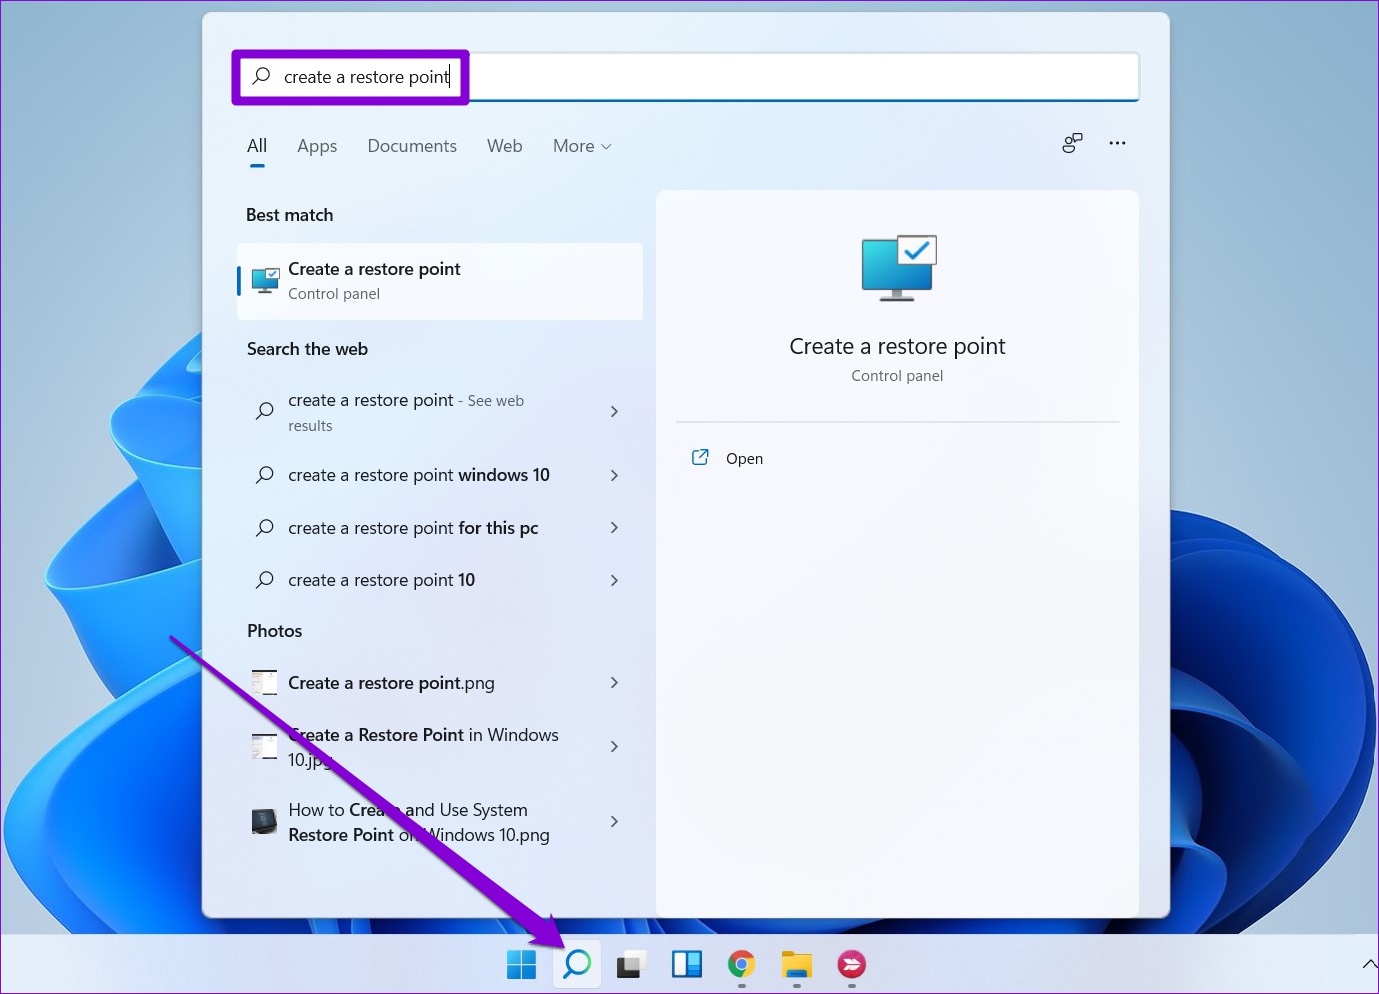
Step 1: Click the search icon on the taskbar. Type in create a restore point, and select the first result that appears.
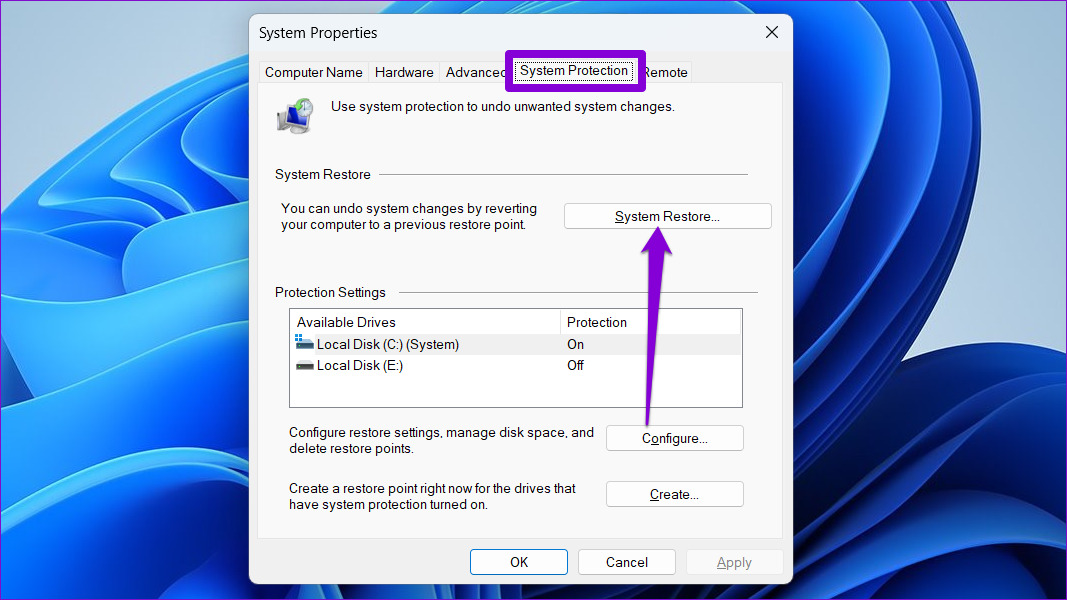
Step 2: Under the System Protection tab, click on the System Restore button.
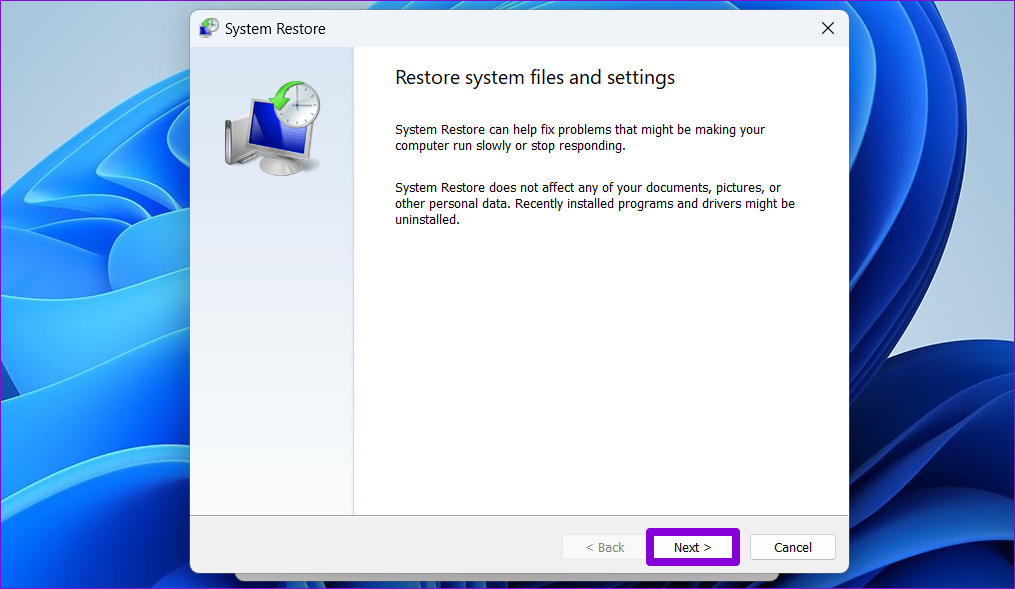
Step 3: Click Next.
Step 4: Select the restore point before the error first occurred. Then, hit Next.

Step 5: Lastly, click Finish.
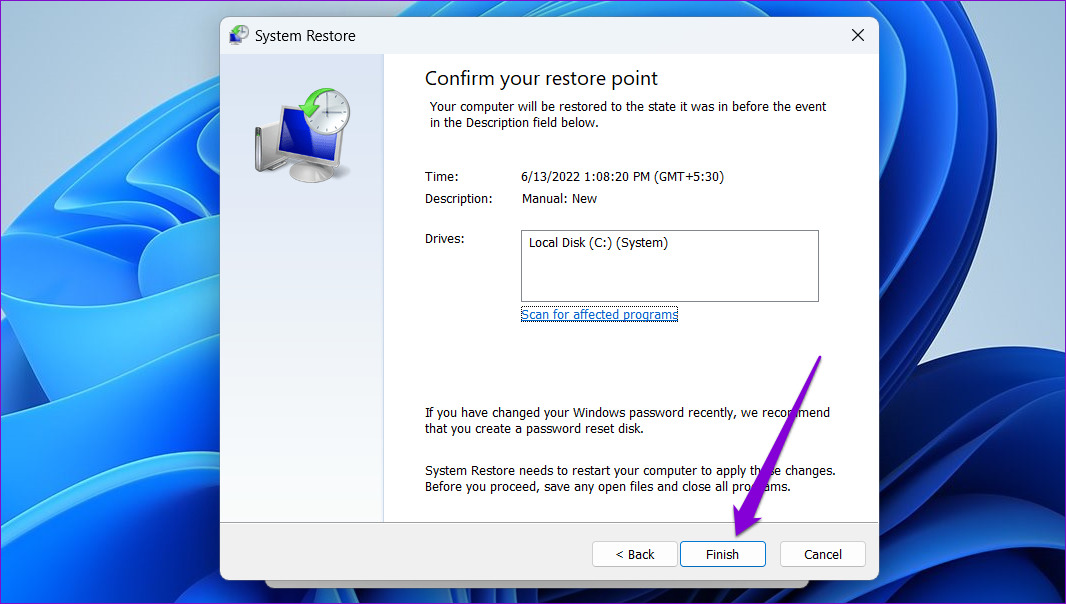
Your PC will restart and restore to its previous state. After that, runtime errors should no longer bother you.
Leave A Comment?