Situatie
Adding quirky animations to your Microsoft PowerPoint presentation gives your slideshow a little extra life. Not only will adding a typewriter or command line animation entertain your audience, but it will also keep them focused on the text.
Solutie
Creating a Typewriter/Command Line Animation
The typewriter and command line animations are very similar. The only differentiating factor is text style. If you’re going with the vintage typewriter look, we recommend going with a 12pt Courier New font in black. For the command-line look, we recommend using a 12pt Lucida Console font in white (or green) over a black background. Since the animations are identical, we’ll go with the command-line style as our example here.
Go ahead and open PowerPoint and go to the slide where you want the animation.
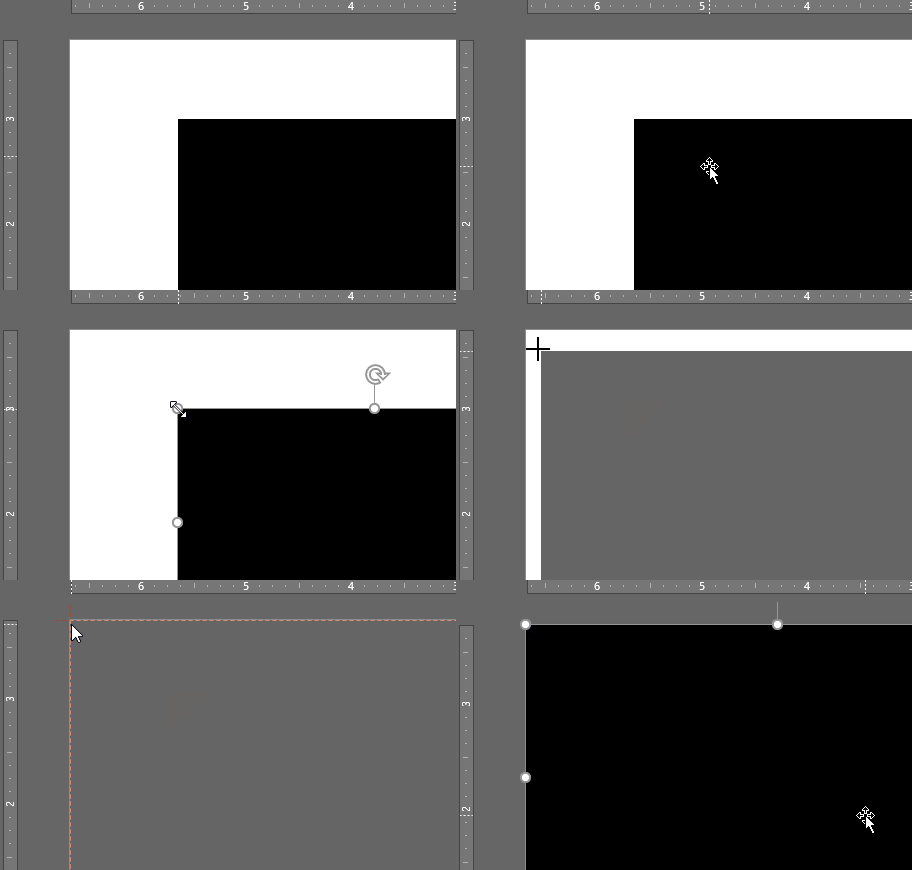
You’ll need to make sure you’ve got a black background to work against if you’re going for the command-line look. Head over to the “Insert” tab and then click the “Shapes” button.
A dropdown menu will appear. From the “Rectangles” group, select “Rectangle.”
Click and drag your mouse on the slide to draw the shape. You could make the shape take up the entire slide or make it smaller if you’re demonstrating something on a smaller scale.
Head over to the shapes “Format” tab and select “Shape Fill” from the “Shape Styles” group.
Select black from the drop-down menu.
Do the same for the “Shape Outline.”
Finally, click and drag to size the shape the way you want it.
In this example, we’re covering the entire slide.
Now it’s time to insert your text. Head over to the “Insert” tab and click the “Text Box” button.
Note: Yes, you could type text directly into the shape. But, using a text box gives you a little more control over exactly where that text appears.
Click and drag your mouse on the slide to draw the text box.
Make sure your font’s settings are correct for your respective animation. Since we’re doing the command-line animation for this example, we’ll select Lucida Console (1), 12pt font (2) and white (3).
Go ahead and type the text you want. When you’re done, select the text box, switch to the “Animations” tab, and then select “Appear” from the “Animation” section.
On the same tab, click the “Animation Pane” button.
The animation pane will appear on the right-hand side of the window. Select your animation and then click the arrow that appears.
From the drop-down menu, select “Effect Options.”
In the window that appears, select the arrow next to “Animate text.” In the dropdown menu that appears, select “By letter.”
Next, enter 0.1 in the “seconds delay between letters” box and then click “OK.”
As a matter of good practice, check the animation to make sure it looks good.


Leave A Comment?