Situatie
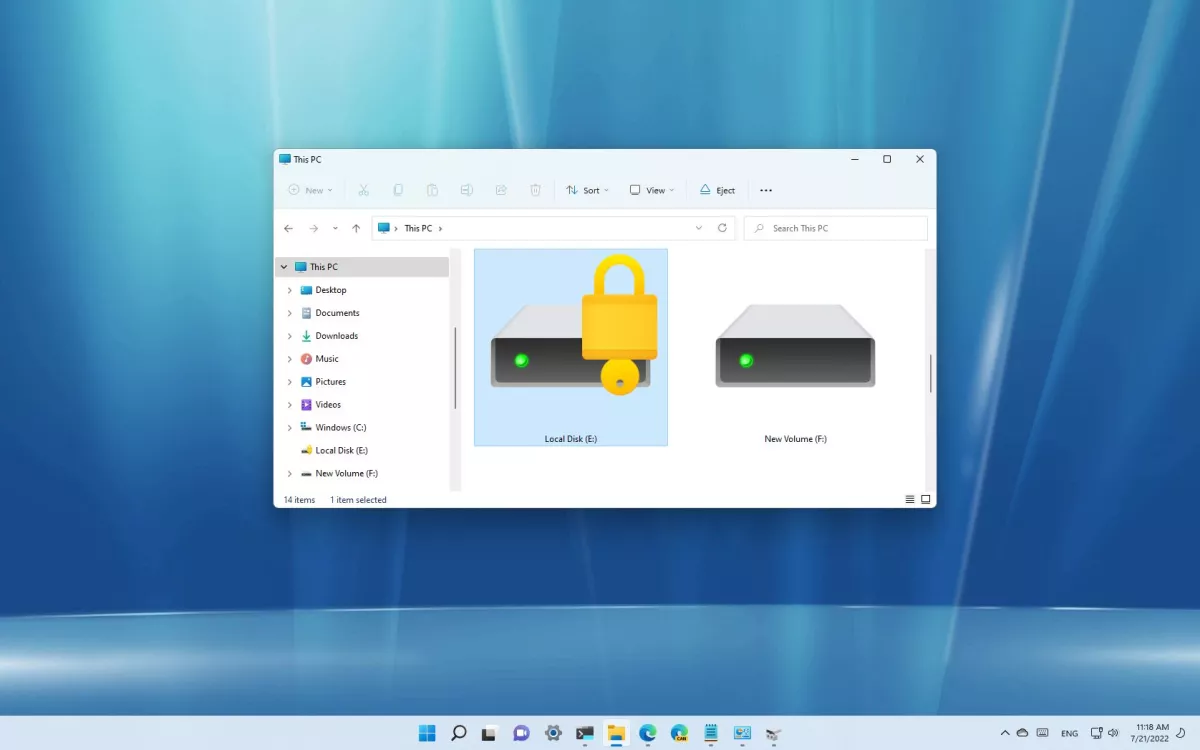
Do you want to protect folders and files with a password?
On Windows 11, you won’t find a feature to add a password to a folder to protect your files because your account is already protected with a password and encryption, and it’s assumed that you will be the only one using it.
However, if you share the computer with others, are concerned about unauthorized access, or want to add another layer of security, you can use the virtual hard disk feature along with BitLocker to protect files and folders with a password on Windows 11.
Windows 11 doesn’t have a feature to protect a folder with a password because the account is already protected with your profile credentials. However, you can use the virtual drive and BitLocker features to create a drive you can secure with a password, which works similarly to a password-protected folder.
-
Create virtual drive to act as a folder
Solutie
Pasi de urmat
Open Start.
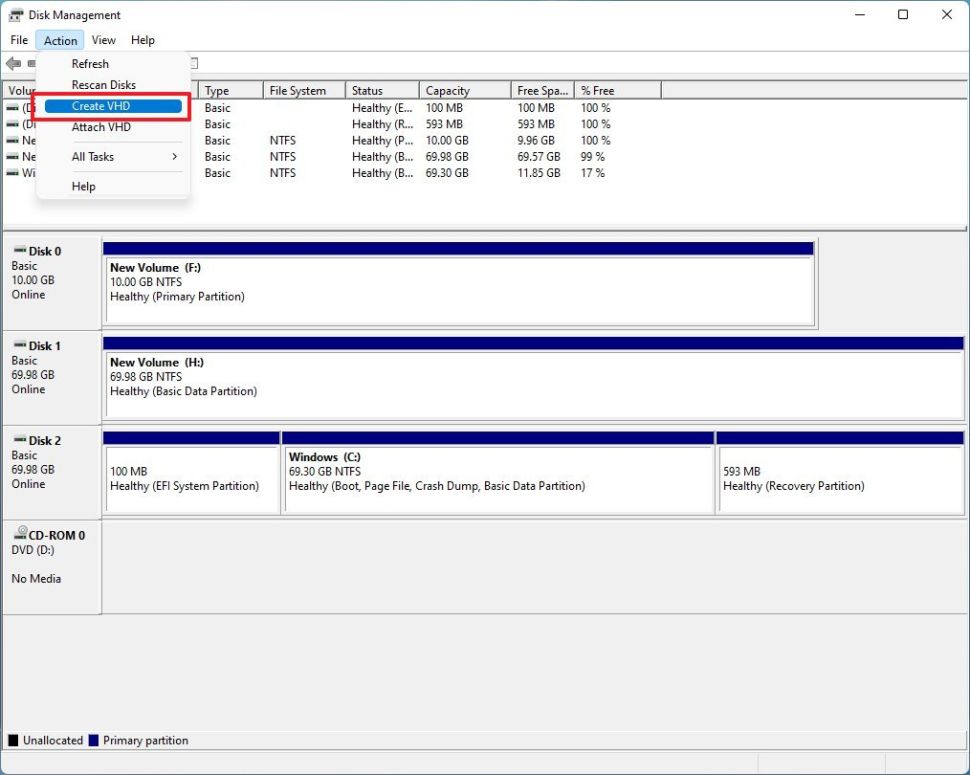
Search for Disk Management and click the top result to open the app.
Click the Action menu.
Click the Create VHD option.
Click the Browse button to select a location to store the virtual disk.
Specify a name for the drive — for example, vault.
Click the Save button.
Under the “Virtual hard disk size” section, specify the space you want to reserve for storage. For instance, 10GB, but you can use any amount based on the content you want to protect.
Under the “Virtual hard disk format” section, select the VHDX option.
Select the Dynamically expanding option to allow the storage will only grow as you save files.
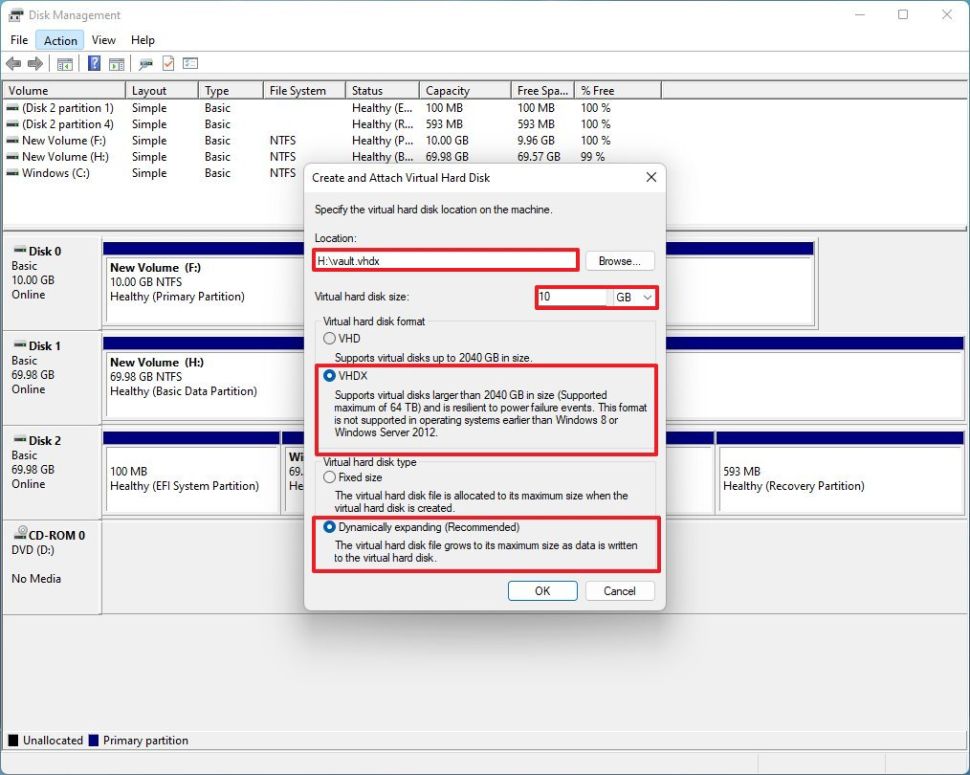
Click the OK button.
Right-click the newly created virtual disk and select the Initialize Disk option.
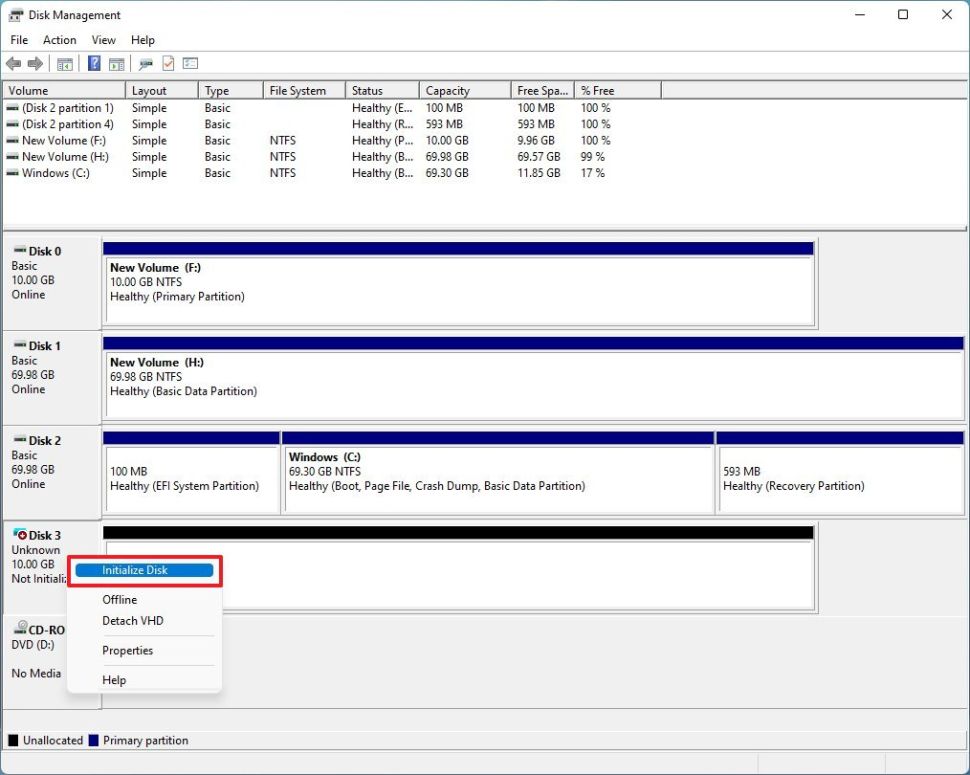
Check the newly created disk.
Select the GPT option.
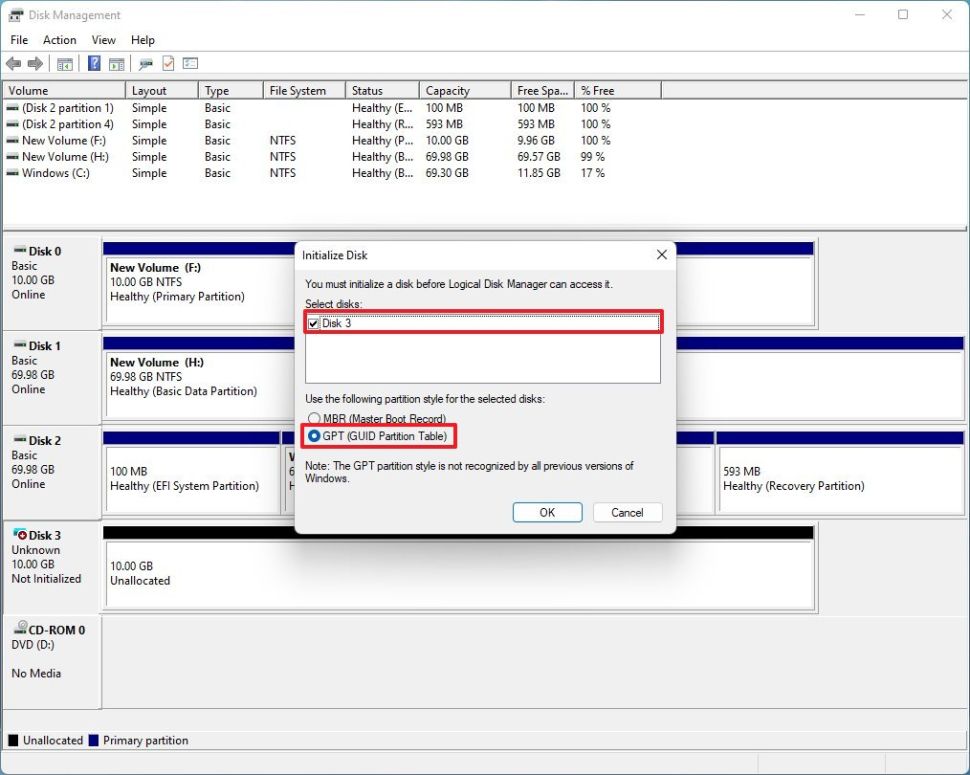
Click the OK button.
Right-click the “Unallocated space” and select the New Simple Volume option.
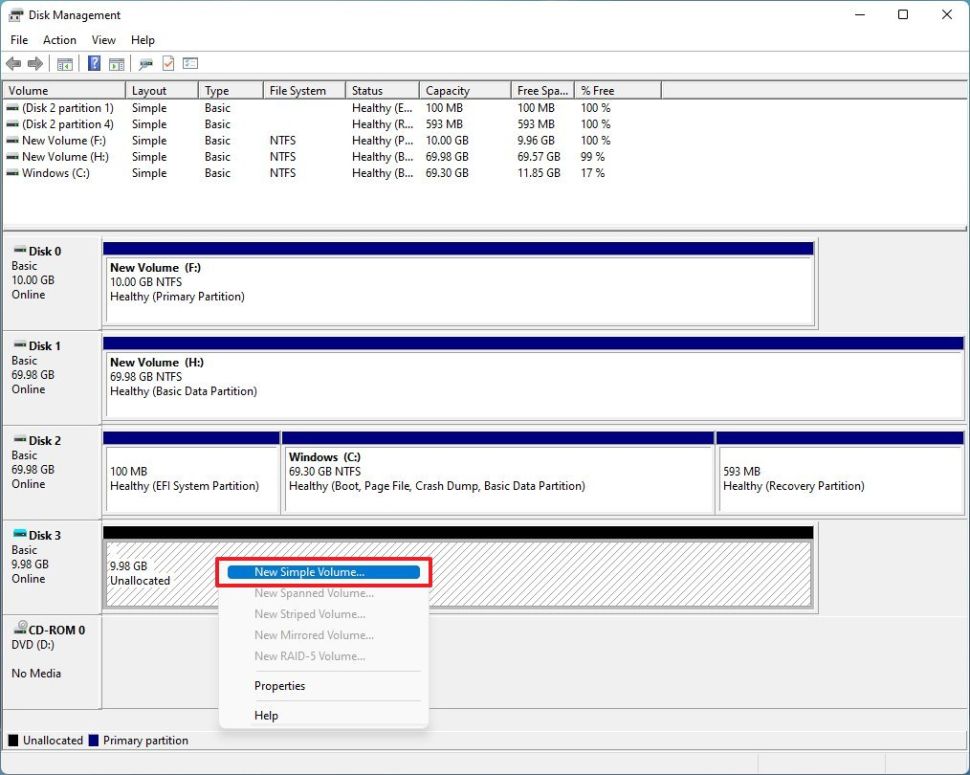
Click the Next button.
Use the default volume size settings.
Click the Next button.
Use the “Assign the following drive letter” drop-down menu to select a new one.
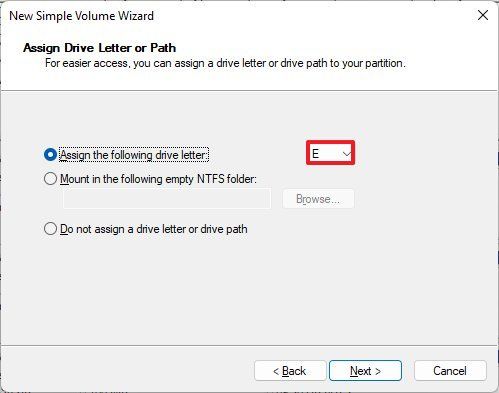
Click the Next button.
Use the “File system” drop-down menu, and select the NTFS option.
Use the “Allocation unit size” drop-down menu, and select the Default option.
In the “Value label” field, type a descriptive name for the drive. For example, vault.
Check the Perform a quick format option.
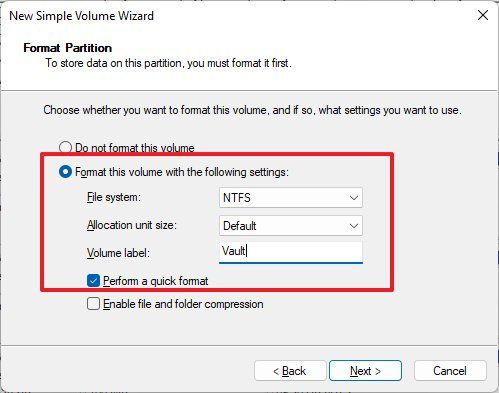
Click the Next button.
Click the Finish button.
Once you complete the steps, the virtual drive will be created, and you can now use it as a folder to securely store files by encrypting it using BitLocker.
Leave A Comment?