Situatie
It’s worth noting that you can use the old Network Connections method to set an IP address in any version of Windows, so if you prefer that method, keep reading.
Solutie
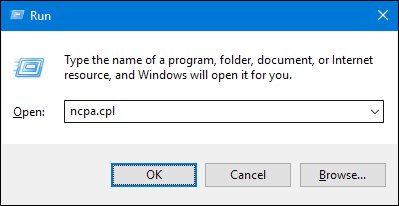
To change the computer’s IP address in Windows 7, you’ll need to open the “Network Connections” window. Hit Windows+R, type “ncpa.cpl” into the Run box, and then hit Enter.
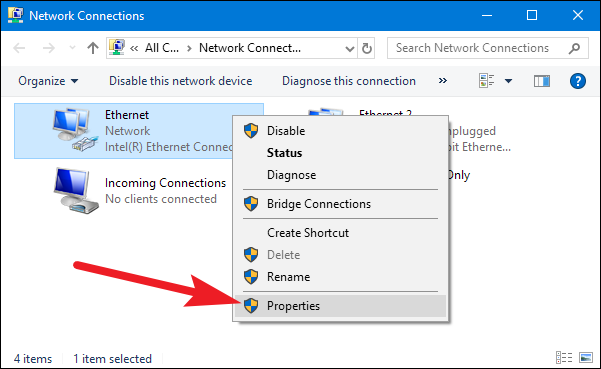
In the “Network Connections” window, right-click the adapter for which you want to set a static IP address, and then select the “Properties” command.
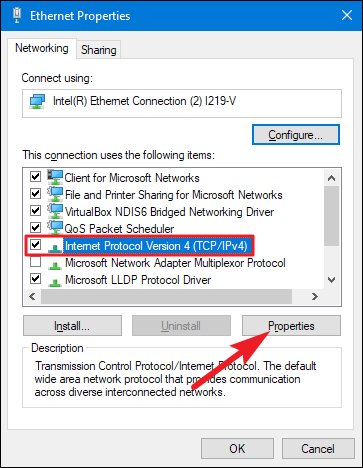
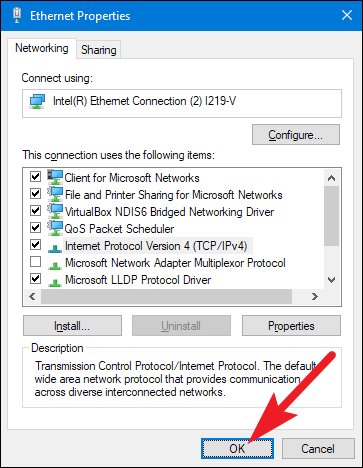
In the properties window for the adapter, select “Internet Protocol Version 4 (TCP/IPv4)” and then click the “Properties” button.
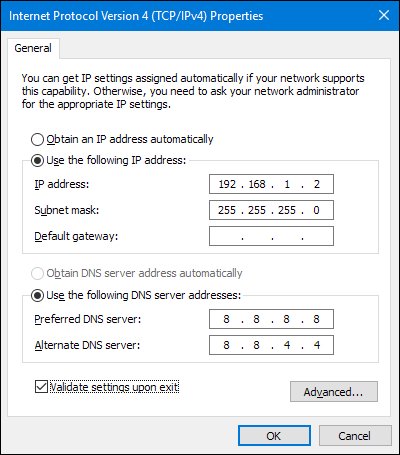
Select the “Use the following IP address” option, and then type in the IP address, subnet mask, and default gateway that corresponds with your network setup. Next, type in your preferred and alternate DNS server addresses. Finally, select the “Validate settings upon exit” option so that Windows immediately checks your new IP address and corresponding information to ensure that it works. When you’re ready, click the “OK” button.
And then close out of the network adapter’s properties window.
Windows automatically runs network diagnostics to verify that the connection is good. If there are problems, Windows will give you the option of running the Network troubleshooting wizard. However, if you do run into trouble, the wizard likely won’t do you too much good. It’s better to check that your settings are valid and try again.
Leave A Comment?