Situatie

Like all major operating systems, macOS allows you to restrict access to files using a complex set of file permissions. You can set these yourself using the Finder app, or by using the chmod command in your Mac’s terminal. Here’s how.
Solutie
Pasi de urmat
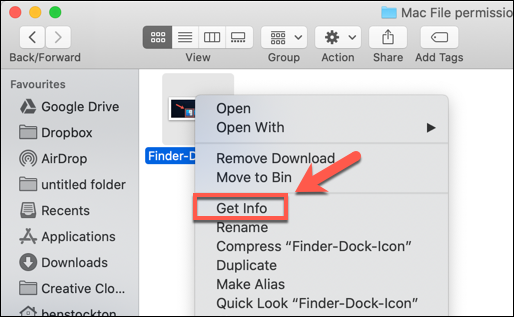
If you want to set the permissions for a file on your Mac without using the terminal, you’ll need to use the Finder app. You can launch Finder from the Dock at the bottom of your screen. The application is represented by the smiling Happy Mac logo icon.

In a Finder window, you can view and set permissions by right clicking a file or folder and selecting the “Get Info” option.
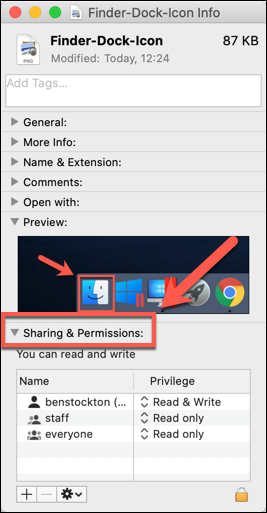
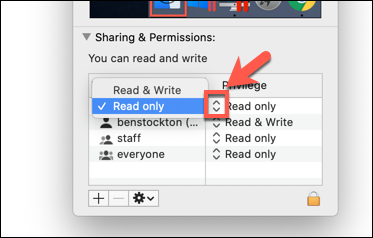
Extensive information about your file or folder can be found in the “Info” window that opens. To set file permissions, however, you’ll need to click on the arrow next to the “Sharing & Permissions” option. This will display a list of accounts or user groups on your Mac, with access levels shown under the “Privilege” category.
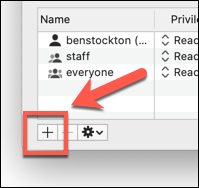
If the account or user group you want to set permissions for isn’t listed, select the Plus (+) icon at the bottom of the window.
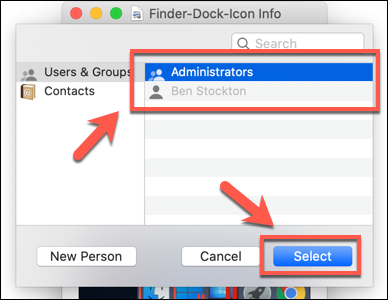
Choose the user or group in the selection window and then click the “Select” button. This will add it to the list.
The access levels are self-explanatory—users with a “Read Only” access level are unable to edit files, but they can access them. If an account is set to the “Read & Write” level, then they can do both. To edit this for a user or group in the list, click on the arrow next to the existing level for that account or group and then select either “Read Only” or “Read & Write” from the list.
Permissions are immediately set. Close the “Info” window once you’re done.
Leave A Comment?