Situatie
We have all been in situations where we want to take a picture of our computer’s screen and show something to our friends or family. It is called a screenshot that can be done on all devices, yet in different ways. This guide presents various methods showing how to take screenshot on Windows 10.
Note that previous Windows versions can be configured to make screenshots differently. Thus, this guide might not be the right one to show how to screenshot on Windows 8 or earlier versions. However, some methods are universal and are worthwhile trying. Usually, there is no difference in what computer brand you are using, as long as Windows 10 is running. Therefore, this tutorial is suitable to show how to take a screenshot on Dell or any other computer that you have.
Keep reading to find a comprehensive guide on how to take screenshots on Windows 10.
Solutie
Pasi de urmat
Quick Screenshots with Print Screen Button
The easiest way to learn how to take screenshots on Windows 10 is by using the built-in print screen button on the keyboard. It is supposed to be located in the top-right corner of your keyboard depending on the computer type.
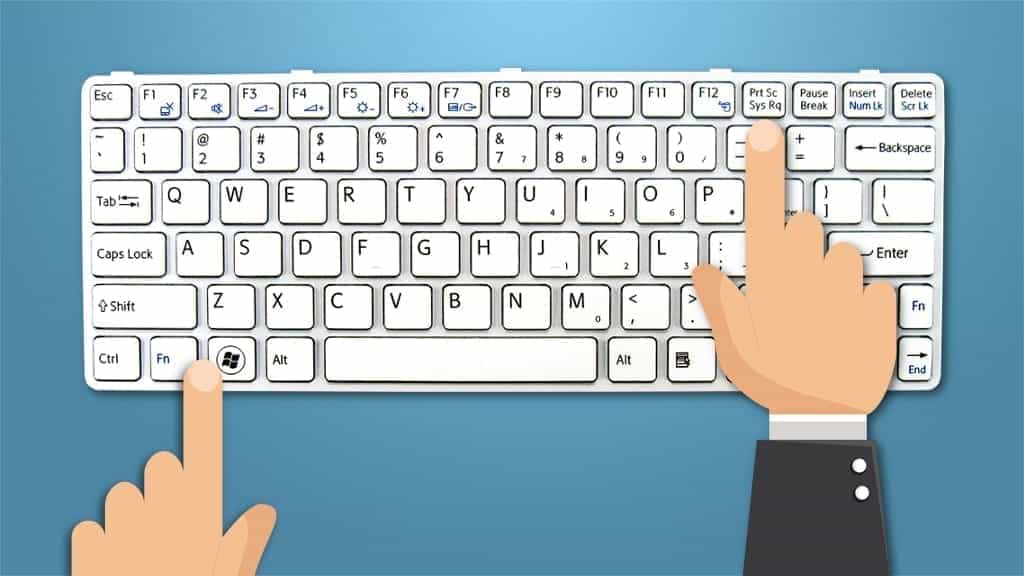
Also, keep in mind that the print screen button allows you to either save the screen image as a file or copy it to the clipboard without saving. Below you will find instructions on how to take screenshot on Windows 10 both ways. If you want to take a screenshot and save it as a file on your computer, press the key with the Windows logo + PrtScn button. You will find the screen image saved in the Pictures folder entitled Screenshots.
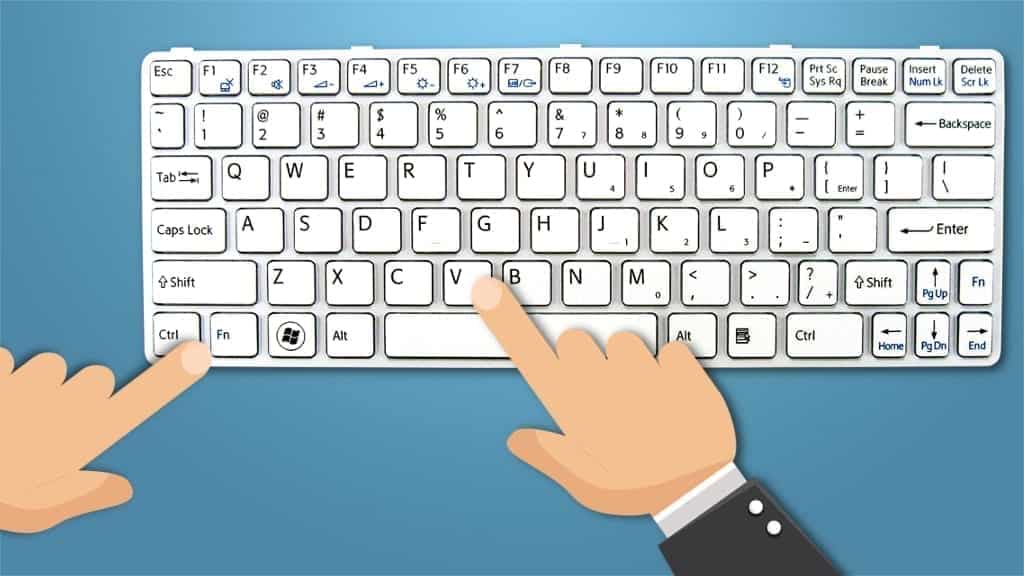
Those who don’t want to save the screenshot as a file should only press the PrtScn button when taking the image. In this case, the screenshot is saved in the clipboard and can be pasted in image editors by pressing Ctrl + V buttons.
Screenshot only one window on the screen
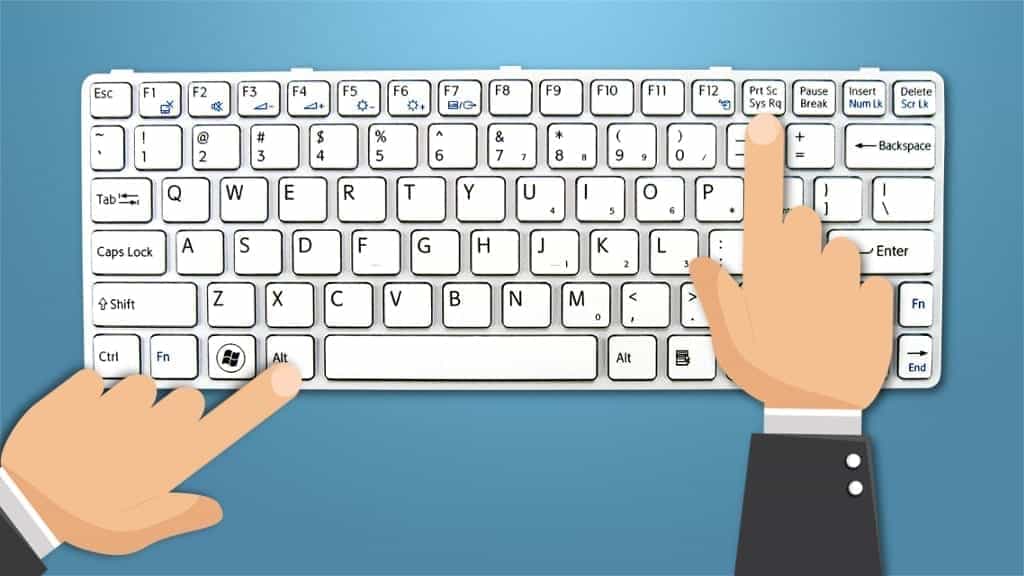
Some people search for how to take screenshot of one window on Windows 10 only. For that, you should press Alt + PrtScn buttons together. Just as mentioned previously, this screenshot will be copied to the clipboard and not as a file in the folder.
Screenshot only a part of the window
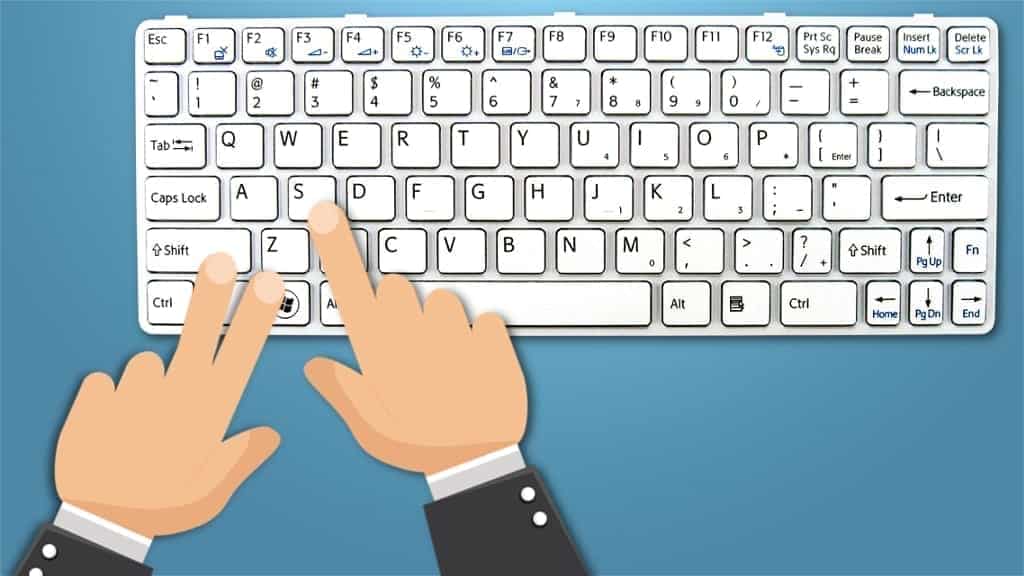
Note that this method only works on computers after Windows 10 Creators update. Press Windows + Shift + S buttons and move your cursor to select the area you want to screenshot. The screenshot is copied to the clipboard and can be pasted to image editing software.
Use Snipping Tool to Take Screenshots
After we have covered ways of how to take a screenshot on Windows 7 without snipping tool, now we can have a look at how to make one with it. This tool gives ability to make more flexible screenshots by not restricting the form of an area. You can choose from free-form, rectangular, window or full-screen Snip.
Furthermore, the snipping tool on Windows 10 has a new delay function that allows setting a timer before taking a screenshot. You can open the snipping tool by pressing the start button and typing “Snipping Tool”.

Leave A Comment?